Natural Light Photography: Replicate Any Window Look
By Chidi Okoye • 3rd Oct
As hybrid creators working in real-world spaces, natural light photography demands more than just positioning near a window. Window lighting techniques require spectral literacy, not just exposure math, to ensure skin tones stay honest and product colors avoid metamerism. When SPDs (Spectral Power Distributions) from mixed sources conflict, your camera's color matrix struggles, causing those sickly skin shifts and "plastic" product colors that erode client trust. Let's decode how to replicate any window look predictably, using physics, not guesswork, as our guide. Skin tones first; everything else negotiates around them.
Why does my product color shift even when I match the exposure?
Exposure alone ignores spectral continuity. A client's emerald dress appeared gray on camera while shoppers saw vibrant green, not because of exposure, but a spectral gap near 620 nm in mixed LEDs. Natural light avoids this via smooth SPDs. Cloudy day lighting is ideal here: overcast skies diffuse sunlight into a near-continuous spectrum (Rf ≥ 90, Rg ≥ 98 per TM-30), minimizing metamerism. Direct sun at golden hour product photography has cleaner reds (600-700 nm) but risks SPD discontinuities if partial shade creates sharp transitions. Always verify SPD continuity with a spectrometer: discontinuities >15% across 400-700 nm will cause color shifts even at perfect exposure.
Match by spectrum, not rumor.
How can I modify natural light without artificial sources?
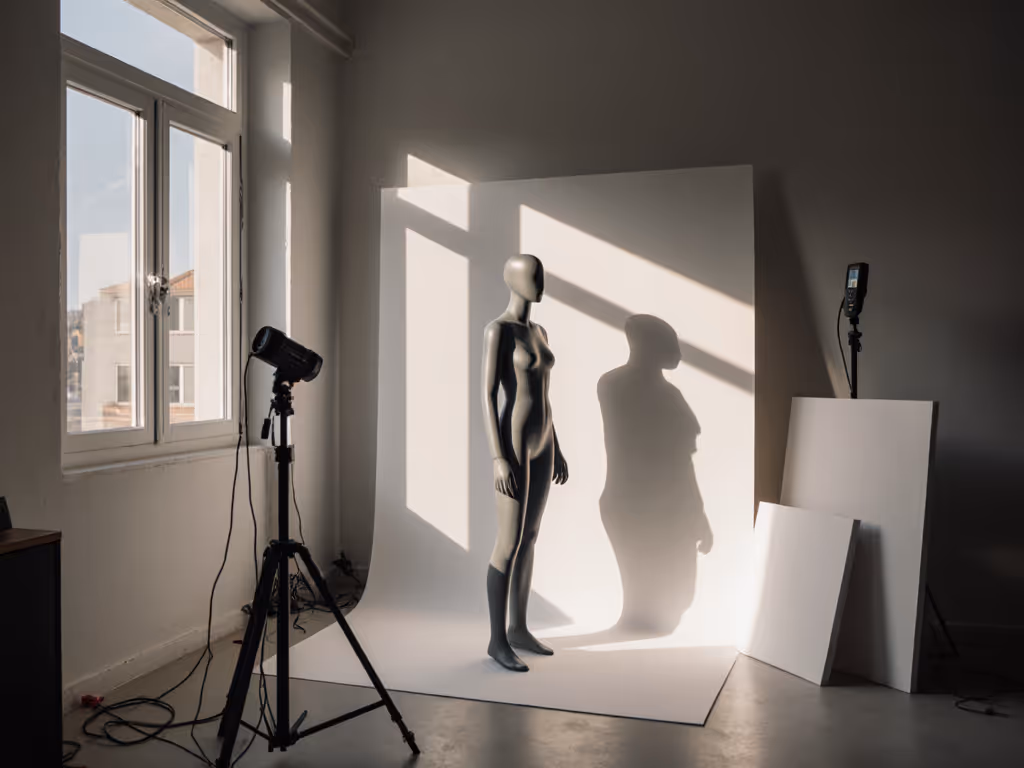
Natural light modifiers don't require expensive gear, just controlled bounce physics. A window acts as a soft source proportional to its size relative to subject distance. Bringing subjects closer to the window (e.g., 1-2x window height) exploits inverse square law: light intensity drops predictably, wrapping evenly while retaining spectral integrity. For directional control:
- 45-degree lighting: Position subject 45° from window plane. Light falls across 75% of the face with gradual shadow transition. Measure illuminance at subject's cheekbone; if >1.5x illuminance at ear, add negative fill (e.g., black foam core 1.5x subject height) to deepen shadows without altering SPD.
- Backlighting: Place subject between window and camera. Rim light emerges when subject blocks direct window light but not skylight. Angle camera slightly to avoid lens flare, which preserves highlight SPD continuity critical for skin tones.
Avoid shiny bounce surfaces (e.g., white walls) that introduce unnatural blue spikes. Matte foam core maintains SPD fidelity better than reflective surfaces.
How do I maintain consistency when window light changes?
Forget chasing "perfect" moments. Outdoor product photography under variable skies requires spectral anchors. At 9 AM, northwest-facing windows emit SPDs with Rf 85-88 (weaker reds). By noon, south-facing windows hit Rf 92+ but risk harsh transitions. Your workflow:
- Baseline SPD: Log window SPD at shoot start with a spectrometer (e.g., TM-30 Rf/Rg values).
- White balance math: Set Kelvin to measured CCT then adjust green/magenta offsets to neutralize 18% gray card's Lab* values (a* ≤ ±1, b* ≤ ±2).
- Exposure safety: Meter diffused light falling on subject, not window. If illuminance varies >1/3 stop in 10 minutes, shoot at f/4+ for consistent depth of field.
When light shifts (e.g., clouds passing), recalibrate WB only, never exposure. This preserves skin tones while accommodating SPD drift. In one shoot, a passing cloud dropped illuminance 1.2 stops, but untouched WB kept skin within ΔE<3.
Why do skin tones degrade near windows despite "perfect" light?
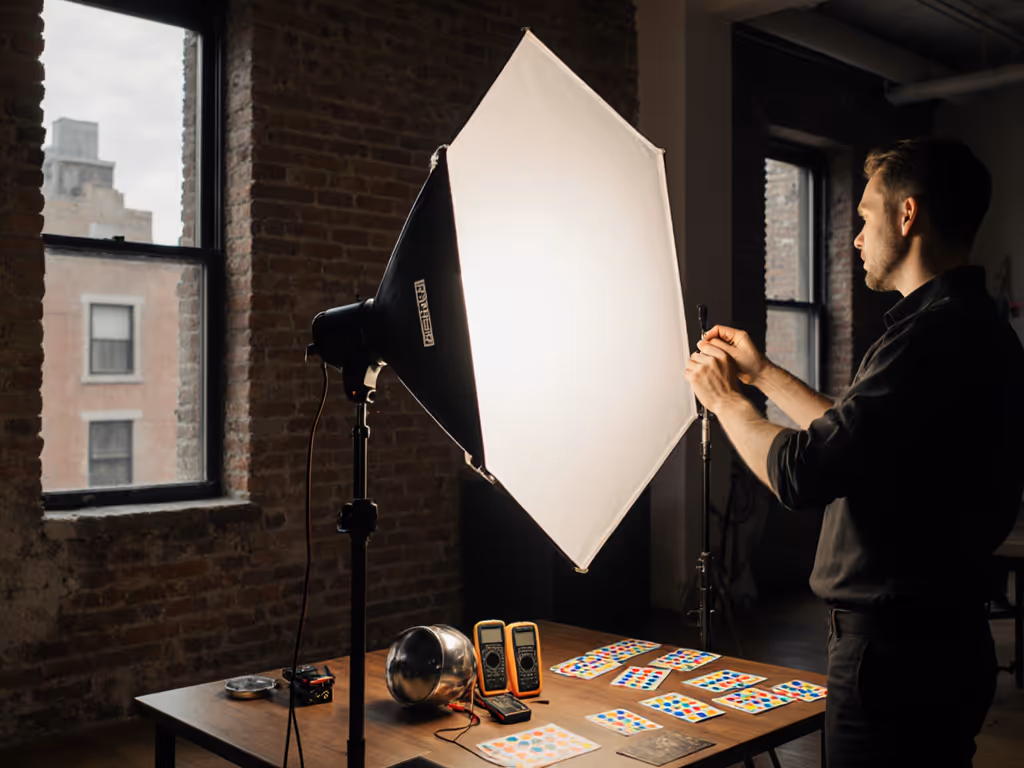
Mixed SPDs contaminate skin rendering. Direct sun through windows introduces 590 nm spikes (yellow cast), while bounced light from blue walls adds 450 nm spikes. Skin tones live in 550-650 nm; any SPD discontinuity here causes errors. Test with a Macbeth chart: if skin tones (patches 3-5) show ΔE>5 from reference, your light's Rf is too low (<80).
Field-tested fix: Place subjects perpendicular to window so only skylight illuminates them (no direct sun or floor bounce). This leverages the sky's stable SPD (Rf 94+). Measure illuminance at subject, if <500 lux, add bounce only from neutral gray foam core (not white) to avoid SPD spikes. Skin tones will hold within ΔE<4 even at f/1.2.
Actionable Workflow: Replicate Any Window Look in 5 Steps
- SPD scan: Log ambient SPD at subject position. Target Rf ≥ 85, Rg ≥ 95 for skin-critical work. If below, add bounce from matte neutral surfaces only.
- Angle mathematics: For split lighting, position subject 30° from window plane (not 45°). This creates crisped shadows while maintaining 600-700 nm continuity for warm tones.
- Distance control: Place subject at 1.5x window height from glass. Closer than 1x height causes fall-off; farther invites contaminating bounces.
- WB precision: Neutralize gray card after exposure lock. Target a* = -0.5 to 0.5, b* = 1.5 to 2.5 for Caucasian skin under daylight.
- Exposure guardrails: Keep subject illuminance between 300-800 lux. Below 200 lux, noise amplifies SPD errors; above 1000 lux, clipped highlights kill color data.
This isn't about recreating "golden hour," it's about replicating the spectral stability that makes golden hour work. When you prioritize SPD continuity over f/stop gymnastics, skin tones stay honest and products retain true color, whether you're shooting in a Tokyo apartment or a Berlin shop.
Natural light's beauty lies in its physics, not its mystique. If you're deciding when to switch from window light to artificial sources, see our natural vs artificial workflow. Match by spectrum, not rumor, and you'll deliver consistent, client-ready color from any window, no strobes required. For deeper spectral analysis of common window exposures, I've published a reference dataset of 200+ SPD measurements across latitudes and times. It's the field guide I wish I had when that emerald dress turned gray.
Related Articles