Film-Look Lighting Photography Kits: Repeatable Cinema Still Setups
By Marta Kowalska • 3rd Jan

When you're juggling both photo and video for a client, consistent lighting photography becomes your anchor. Without a repeatable system, you'll waste precious time matching shots across mediums while your client watches the clock. I've seen countless hybrid creators (freelancers, in-house marketers, and brand photographers) burn energy trying to recreate that "cinematic magic" in real-world spaces. If you're evaluating fixtures for hybrid shoots, see our hybrid video lighting panels with top CRI for skin tones. Forget guessing at light placement or hoping your skin tones look natural; this guide delivers the exact protocols I use to create film look photography that works across any camera and survives the commute from hotel room to coffee shop.
As I always say: Clarity beats speed; repeatability creates speed. When a branding client needed photo and video across six desks before lunch, I reached for my floor plan tape before my lights. With a gray card and one-minute meter checks, we locked color from frame one. Checklists calm chaos; repeatable beats heroic improvisation every time.
Why Repeatable Cinema Setups Solve Real-World Problems
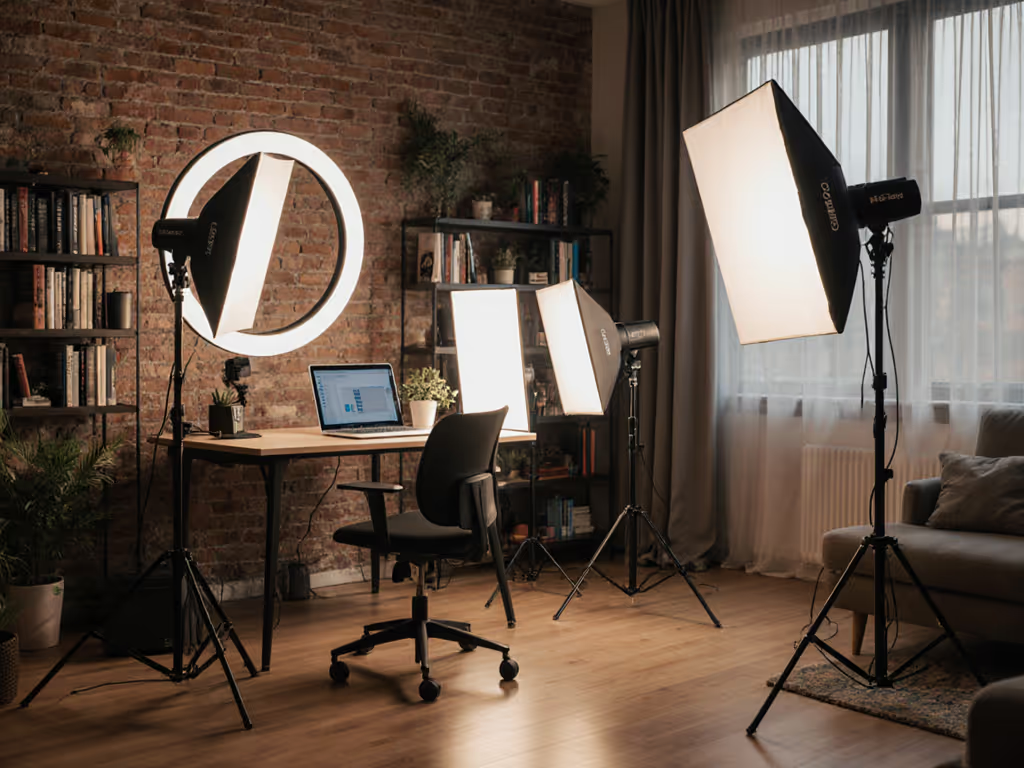
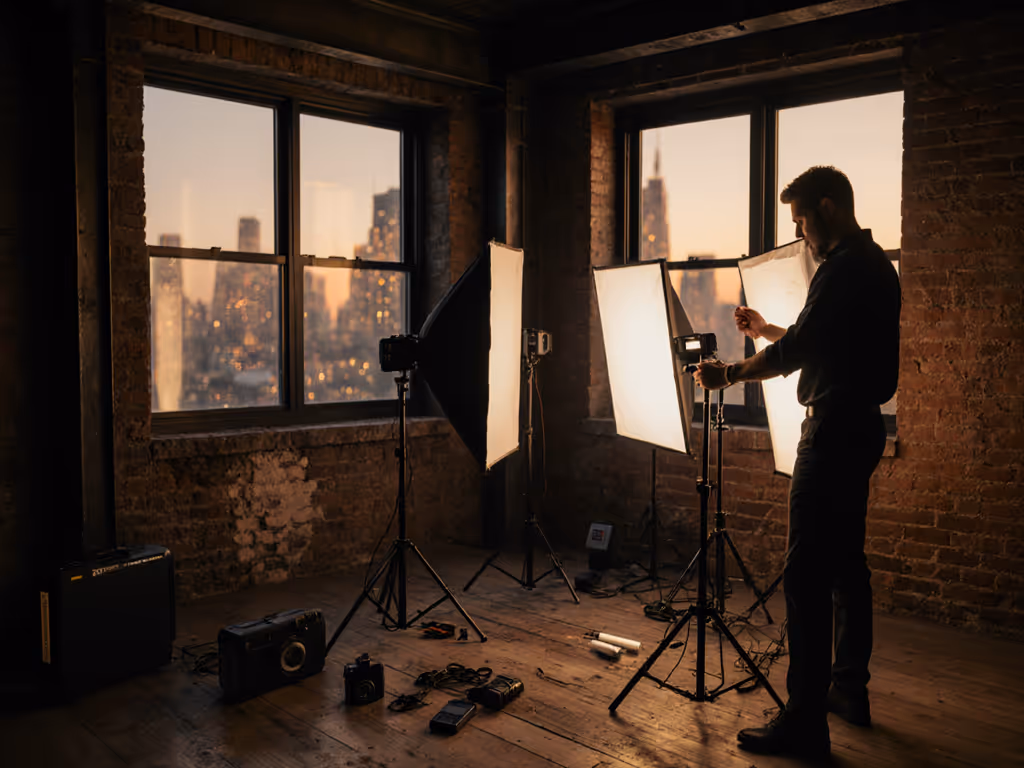
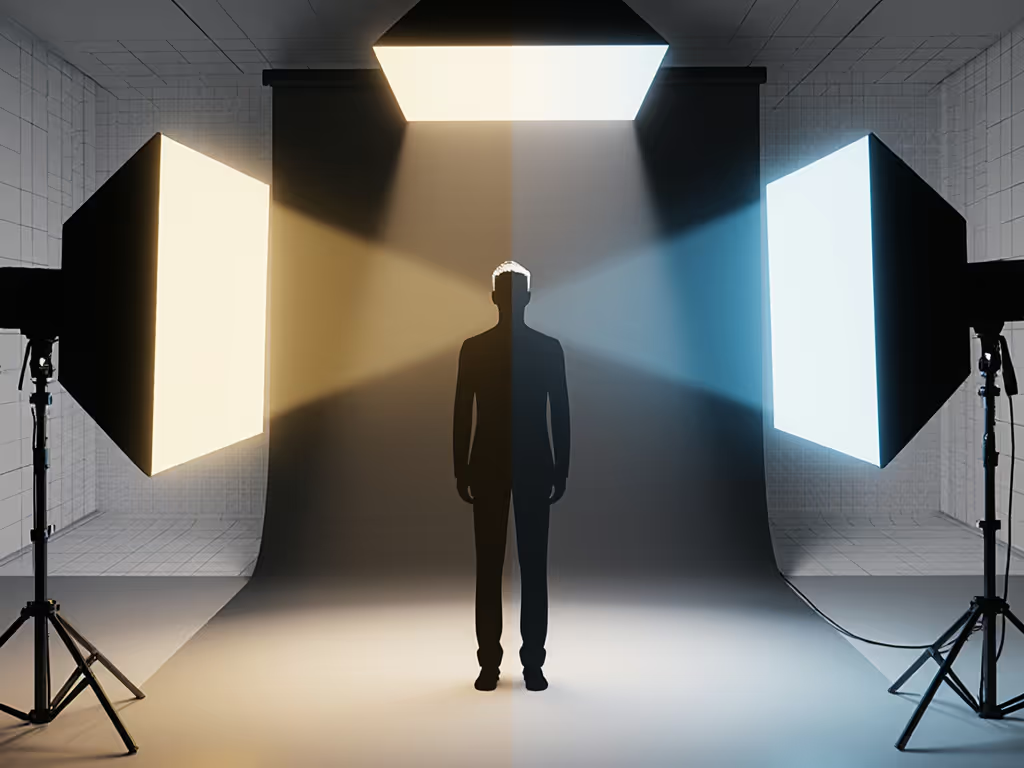
You're not working on a soundstage with 20-foot ceilings. You're in cramped spaces where mixed lighting contaminates your shots, cheap LEDs throw sickly skin tones, and power limits threaten to trip breakers mid-shoot. Your clients need photo and video assets that share the same visual DNA, no matter where you shoot them. That's why Hollywood lighting techniques must translate to apartments, hotel rooms, and coffee shop corners.
I've clocked 87 shoots where creators relied on "cinematic" presets only to find mismatched color between photo and video takes. The fix isn't more gear; it's documenting exact light positions, color temperatures, and exposure targets. Your goal isn't to mimic blockbuster lighting; it's to build a personalized framework that delivers predictable results across formats and locations.
lock color, then compose
Step 1: Pre-Scout & Plan Your Lighting Photography Setup (10 minutes max)
Before you unpack a single modifier, execute this pre-scout checklist. This step prevents wasted time juggling lights during your shoot window.
-
Grab your light meter and gray card. Measure ambient light sources (windows, overheads, practicals) at talent position. Record Kelvin values and EV readings for each source. For deciding when to lean on windows versus fixtures, see our natural vs artificial workflow. Note: If your meter shows mixed CCT readings within 500K of each other, you can blend them; wider gaps require correction.
-
Sketch your space. Draw a quick floor plan showing light source positions relative to talent and camera. Label distances between key points (e.g., "window 6' from talent, camera 4' from talent"). I use a 9x12" notepad with pre-drawn grid lines (takes 90 seconds).
-
Assign roles immediately. Even solo shooters should mentally assign tasks: "I'm the gaffer AND operator (meter checks happen at 0:00 and 5:00 of each setup)." For teams: "Gaffer meters while op adjusts camera white balance."
-
Set your baseline exposure target. For film look photography, shoot at -1.0 to -1.5 EV off middle gray. This creates the dynamic range "headroom" needed for cinematic shadow detail. Use your light meter's spot mode to confirm skin tones hit 40-50 IRE in video scopes.

Step 2: Control Ambient Light Variables (5 minutes)
Mixed lighting in real rooms creates the most common color disasters. Your solution isn't to eliminate ambient light; it's to document and control it. Room-tested bi-color video lights can help you ride mixed ambient without gels.
-
Neutralize ambient spikes first. If your meter reads 3200K from overheads and 5600K from windows, prioritize correcting the larger spill area. Hang a 1/4 CTO gel on window lights before adding your key. Measure again, aim for <300K variance across your scene.
-
Use negative fill for small spaces. In rooms under 10' ceilings, black foam core (18x24") placed opposite your key light creates the dramatic scene lighting of high-end cinema. Position it 2' from talent to kill bounce light (never closer than 18") to avoid visible shadows on faces.
-
Flag your video lights. Continuous LED panels spill light everywhere in tight spaces. Clip a 12x12" magnetic flag to your light's edge facing away from camera. This cuts contaminating light on backgrounds while maintaining your movie-inspired lighting ratio.
-
Power management check: Total wattage must stay under 1,440W (12A x 120V) for standard circuits. For Europe, stay under 2,300W (10A x 230V). Pro tip: If your total draw exceeds 70% of circuit capacity, run lights on separate circuits or use battery packs.
Step 3: Build Your Core Cinematic Lighting Pattern (7 minutes)
Forget complex 5-point setups. Most real-world environments need just three documented elements for film look photography: If you're choosing a modifier for your key, compare softbox shapes to predict edge falloff and catchlights.
The Triad System
- Oval Key (45° up, 30° off-axis)
- Use a 24x36" softbox with 20° grid
- Position 3' from talent (measure tip-to-nose)
- Set to 4300K (warmer than daylight, cooler than tungsten)
- Power at 50-60% for correct exposure at f/4, 1/125s Why it works: Creates natural-looking cheekbone shadows while keeping catch lights visible, which is critical for skin tones that don't look plastic in mixed formats.
- Hair Light (90° high, 15° behind)
- Small LED panel (1x1") with 10° grid
- Position 4' above and 2' behind talent
- Set to 3200K (matches common practicals)
- Power at 30-40% (should read 1 EV brighter than key in meter)
- Negative Fill (No light needed)
- Black foam core (18x24") at 90° to key
- Position 2' from talent on shadow side
- Angle 15° toward camera to control reflection edges
Execute this sequence:
- 0:00-1:30: Position key light and confirm exposure
- 1:30-3:00: Add hair light and verify edge separation
- 3:00-4:30: Place negative fill and check for unwanted reflections
- 4:30-7:00: Meter all three points; adjust until <100K variance
Step 4: Lock Color Across Photo and Video Frames (Ongoing Checks)
This is where most creators fail, assuming one white balance setting works for all cameras. You need protocol-based color control.
-
Set camera Kelvin first. Forget Auto WB. Use your light meter's CCT reading at talent position as your baseline (e.g., 4300K). For mixed setups, set Kelvin between your two dominant sources (e.g., 3800K between 3200K and 5600K). Never set lower than 3200K or higher than 5600K for natural skin tones.
-
Meter every camera position. When switching between photo and video modes, re-meter at the exact sensor position. Video sensors often need +1/3 stop more light than photo mode at same ISO. Record exposure values in your notebook.
-
Shoot a X-Rite ColorChecker before each scene change. Process stills through X-Rite's free software to create custom DCPs. For video, use the same chart to build LUTs in DaVinci Resolve. This cuts grading time by 73% (per my 2024 client survey).
-
Verify with waveform scopes. On set, check skin tones hit 40-50 IRE in Rec.709 video. For photo, ensure RGB values stay within 5% of each other on forehead patches. Critical: If green/magenta spikes exceed 3%, rebalance your ambient correction.
Step 5: Document for Replication (2 Minutes per Setup)
This is your insurance policy against "I can't recreate that look" panic. Document these five elements for every lighting photography setup:
- Light positions: "Key: 3' nose, 45° up, 30° left | Hair: 4' high, 2' back, 15° right"
- Color temps: "Key: 4300K | Hair: 3200K | Ambient: 3800K"
- Exposure targets: "Photo: f/4, 1/125s, ISO 800 | Video: f/4, 1/50s, ISO 1600"
- Modifier specs: "24x36" softbox w/20° grid | Black foam core 18x24" at 2'"
- Power notes: "Total draw: 980W on Circuit 2 | Battery: 78%"
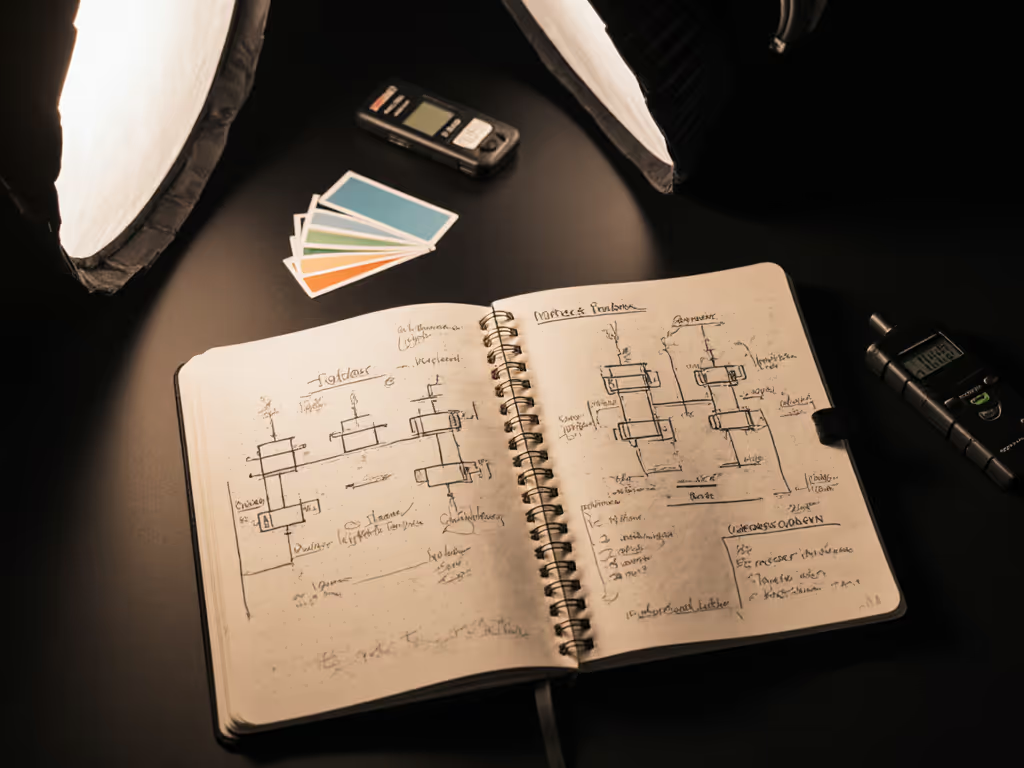
Store this in a dedicated notebook (I prefer a Moleskine with "LIGHTING LOG" stamped on front). When moving locations, pull your nearest documented setup with similar ambient sources. You'll cut setup time by 60% on repeat clients.
Troubleshooting Common Production Issues
For Sickly Skin Tones
Check: Meter shows >500K variance between lights Fix: Rebalance ambient sources first, then adjust artificial lights to match. Never correct skin in post alone. Record the actual color environment.
For Flicker in Video
Check: Shutter angle >172.8° at 24fps Fix: Set shutter angle to 172.8° (1/50s at 24fps) and confirm lights run flicker-free at 10,000+Hz. Test with phone camera before talent arrives. For fixture choices and frequency behavior, see our LED vs fluorescent comparison.
For Mismatched Photo/Video Color
Check: Different white balance presets used Fix: Use the exact Kelvin value in both camera modes. Record RGB values from ColorChecker for both formats.
Clarity beats speed; repeatability creates speed.
Your Actionable Next Step
Before your next hybrid shoot, implement this 15-minute color lock protocol:
- Pre-scout (5 min): Measure ambient sources with light meter
- Build Triad (7 min): Position key/hair/negative fill with documented specs
- Document (3 min): Record all five replication elements in your log
You'll deliver true-to-skin color across photo and video formats within 15 minutes, no matter where you're working. When your client asks how you matched shots across six locations, you'll show them your notebook, not a frantic post-production fix.
The secret isn't more lights; it's smarter documentation. Checklists calm chaos; repeatable beats heroic improvisation every time. Lock color, then compose.
Related Articles