How Creative Camera Angles Shape Photography Lighting
By Chidi Okoye • 24th Apr
Introduction
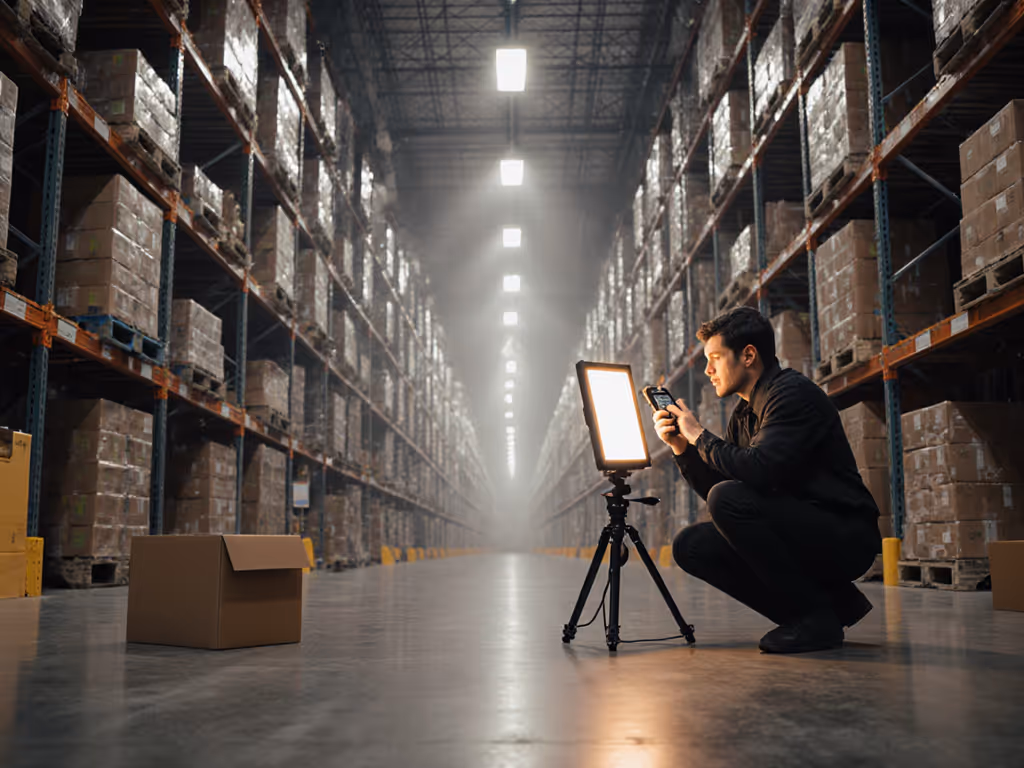
The angle of your camera is not merely a compositional choice, it is a lighting variable. How the camera sits relative to your subject directly shapes which spectral power distribution (SPD) (the wavelength curve your light source emits) will render skin tone accurately, which will appear washed out, and which will require heavy post-correction. Whether you're shooting in a small office with mixed ambient, a client's shop under fluorescent practicals, or a hotel bedroom with a single window, the angle you choose determines not just what you see, but what color information your sensor captures.
For creators working in constrained spaces with limited kit, this relationship between angle and light behavior is the difference between a setup that yields clean, skin-true color out of camera and one that demands extensive grading to salvage the shot. Skin tones first; everything else negotiates around them.
FAQ: Camera Angles & Lighting Interaction
Q1: Why does camera angle change how much I need to correct skin tone in post?
Camera angle alters the proportion of light components that reach the sensor. When you shoot from a low angle looking up at a subject, you expose more of the forehead and upper face planes to key and fill light. When you shoot from above, shadows deepen in the eye sockets and jaw. These changes in shadow and highlight distribution mean different ratios of the light source's SPD are captured.
Consider a scene lit with tungsten practicals (nominally 3200 K) supplemented by a daylight window (5500 K+). A wide master shot from medium height captures both light sources evenly. A tight, low-angle close-up of a face emphasized under the tungsten side loses daylight contribution and weights the image toward longer wavelengths (reds and oranges in the 620-700 nm range). The same fixture, different angle, reads as warmer on skin.
This matters because consumer LED fixtures often have SPD gaps (dips in output at specific wavelengths). In one boutique shoot with mixed RGB and daylight LEDs, a product (an emerald dress) appeared gray on the main camera but rich emerald to shoppers. A spectral read revealed a gap near 620 nm in the fixture's curve. We swapped to a fixture with better spectral distribution, adjusted white balance, and built a camera profile; the emerald returned, and skin tones stayed honest. The lesson: SPD gaps are not cosmetic. They are capture problems.
The fix is not better post-work. It is match by spectrum, not rumor: measure the fixture's actual output, understand its gaps, and choose an angle-and-modifier combination that compensates at capture. For a foundational primer on how light direction influences both skin tones and product color, see our lighting angles guide.
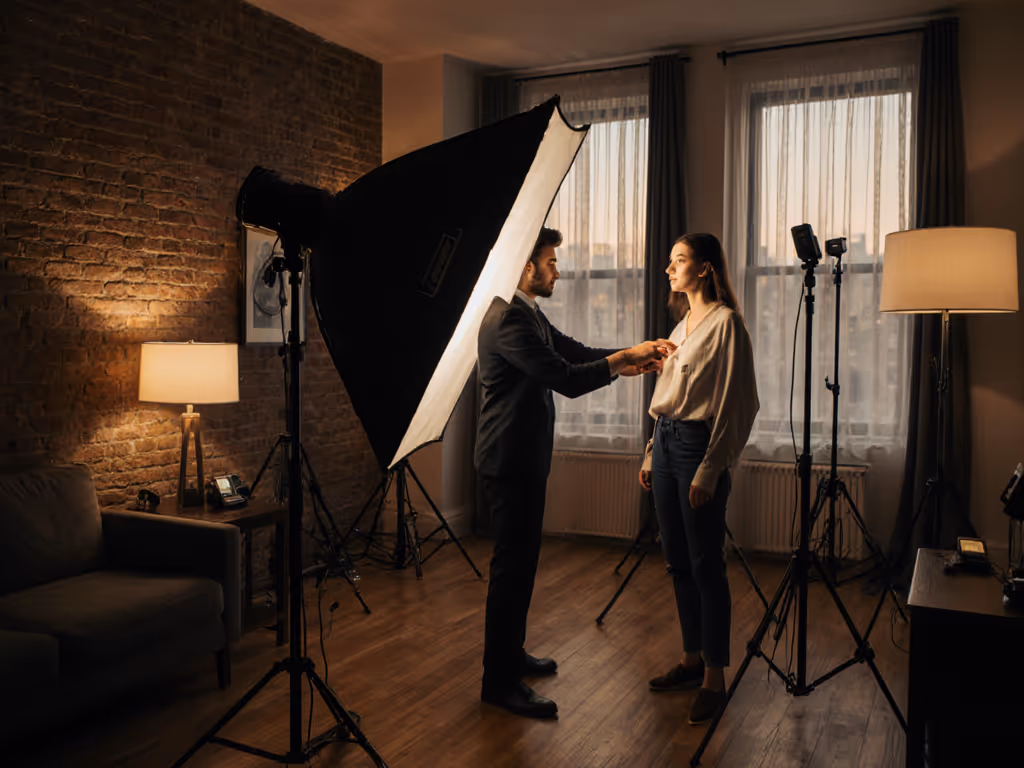
Q2: How should I position my key light differently based on camera angle?
Key light position relative to camera angle determines the ratio of specular to diffuse reflection from skin. This is where modifiers and distance become critical.
Low-angle shooting (camera below subject's eyeline):
- Position key light higher relative to the subject, angled downward.
- Reason: low camera angle already renders upper face planes (forehead, cheekbones) at favorable angles. A high, front-angled key will not create harsh shadows under the chin or nose as readily, because the camera is already "filling" those zones geometrically.
- Caution: Watch for catchlights in the eyes. Low angles can push catchlights into the lower lid, which can read as unflattering. Adjust key height slightly to land the catchlight in the upper-middle iris.
High-angle shooting (camera above subject's eyeline):
- Position key light lower, to the side, or both.
- Reason: high angle naturally shadows the lower face. If you place key light high as well, you risk losing definition in the jaw, chin, and lower cheeks. A side or lower key will carve separation and keep those planes visible.
- Correction needed: high-angle shots inherently compress shadow detail. Use fill light or reflectors more liberally. Measure with an incident meter to ensure skin shadow areas retain enough illumination to preserve undertone saturation. For inclusive color accuracy across complexions, study our diverse skin tone lighting techniques to refine fill and key placement.
Dutch angle (tilted frame):
- Key light direction becomes relative to the tilted frame, not absolute gravity. This is where many creators make errors.
- If you tilt the frame 20-30°, your eye still expects light to behave as if gravity is vertical. Angle the key to respect that expectation, not the frame tilt. Otherwise, lighting will feel "off" even if technically balanced.
Q3: Why do some angles hide or reveal mixed-light color problems?
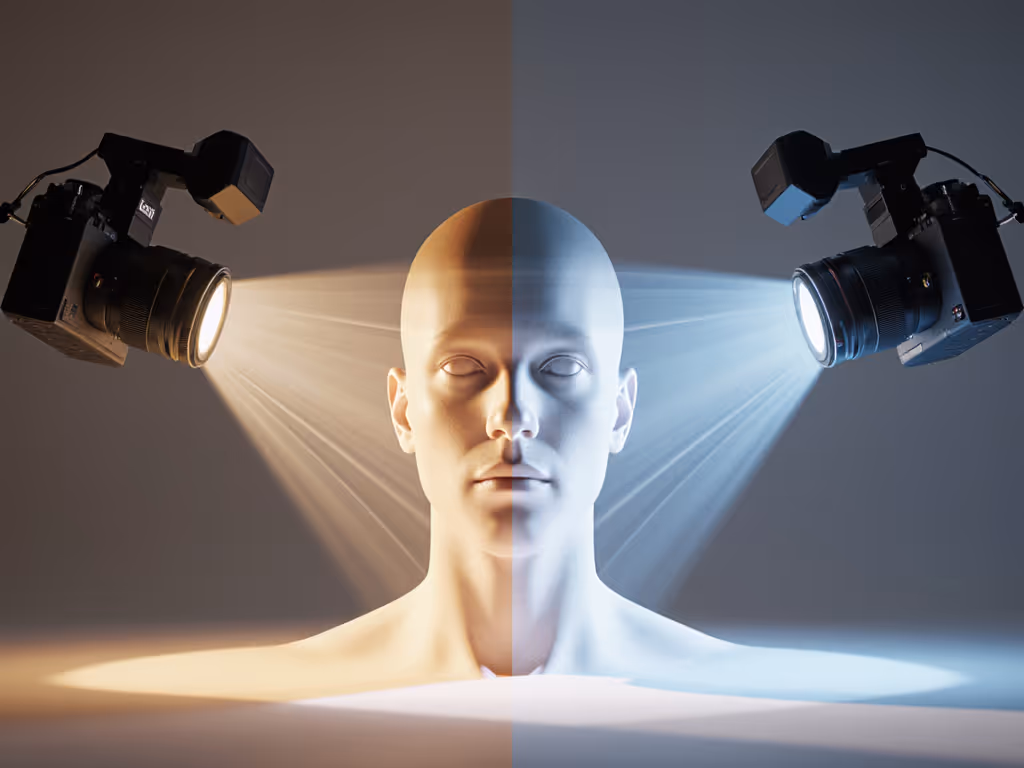
Mixed color temperature and SPD gaps read differently depending on which light-receiving surfaces the camera sees.
Scenario: you have tungsten from a desk lamp (3200 K, weak 500-530 nm cyan) and daylight from a window (5500 K, strong cyan). The subject's face receives both.
- Front-on camera angle: both light sources are nearly equal in contribution. Cyan from daylight and orange from tungsten compete. The result: muddy, desaturated skin tone unless corrected in white balance.
- Side-on angle with subject favoring the tungsten side: camera sees predominantly tungsten-lit planes. Daylight contribution drops. Skin reads warmer and less green-shifted. It "looks better" without intervention, but it is not honest color. It is selection bias.
- Three-quarter angle, slightly toward daylight: a balance is possible. Camera receives enough of each source that a white balance pivot in post can resolve both without crushing saturation.
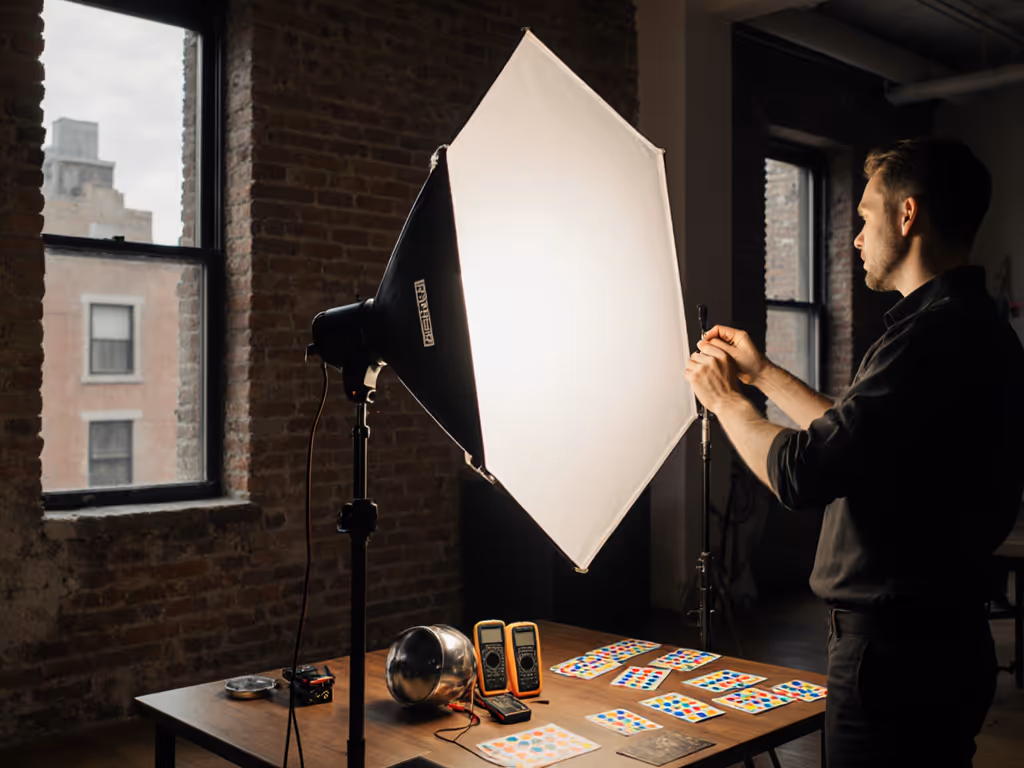
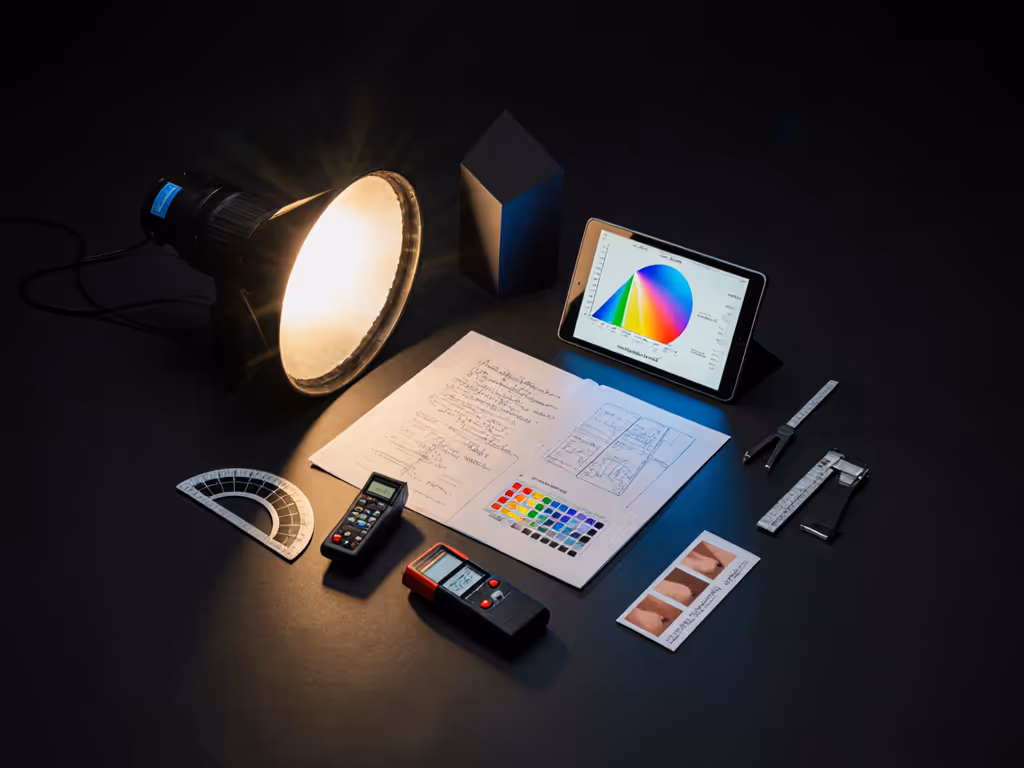
The lesson: angle choice can mask contamination from mixed sources, making the setup feel "solved" when it is not. Proper approach is to measure light with a spectrophotometer or an app that captures SPD, identify the gap, and choose angles that minimize problematic cross-contamination, not hide it.
Q4: Can angle choice reduce flicker and banding in-camera?
Absolutely. Flicker and banding occur when camera shutter speed (or frame rate) is misaligned with the light source's cycle frequency. Standard AC mains cycle at 50 or 60 Hz. Most LED fixtures flicker at twice the mains frequency (100 Hz for 50 Hz regions, 120 Hz for 60 Hz).
The fix: synchronize shutter speed to the light flicker rate. Practitioners often quote a "180° rule" (setting shutter speed to expose for roughly half a cycle), but this is a guideline, not a law.
At 60 Hz (North America), common shutter speeds are:
- 1/50 s (50 fps, catches one ~20 ms cycle of 120 Hz flicker; often visible as subtle banding in video)
- 1/100 s (better alignment; flicker integrates over ~10 ms, reduced visibility)
- 1/120 s (ideal; exposes for exactly one full 120 Hz cycle)
For 50 Hz (Europe, Asia, Africa):
- 1/50 s (ideal)
- 1/100 s (good)
The camera angle does not directly affect flicker, but angle choice often forces exposure compromise. If flicker pushes you toward flash, our continuous vs strobe guide clarifies trade-offs for color stability and workflow. If a low angle and key placement require you to shoot at f/2.8 at ISO 400 to expose the shadow side of the face, you might not have shutter-speed flexibility to dodge a flicker-prone frame rate. Conversely, a high-angle, well-lit setup might allow f/5.6, ISO 100, giving you freedom to choose a flicker-safe shutter speed without stop compensation.
Pre-plan your angle with flicker mitigation in mind. Match shutter speed to both the light cycle and the angle's depth-of-field and noise constraints.
Q5: How does low-angle vs. high-angle photography affect perceived color saturation?
Camera angle changes the surface texture and micro-specularity of skin that the sensor reads. Smoother, more perpendicular surfaces tend to render with higher saturation; surfaces at oblique angles scatter light and can desaturate.
Low-angle photograph:
- Camera sees more of the forehead and upper cheek planes head-on.
- These surfaces are relatively smooth and perpendicular to light.
- Specular reflection is concentrated; saturation reads high (sometimes too high, appearing plastic if overexposed).
- Undertone color (reds, yellows, olive) is more vivid.
- Risk: unforgiving of foundation texture or dehydration.
High-angle photograph:
- Camera sees more of the lower face and jawline obliquely.
- These surfaces scatter light across a wider range of angles.
- Diffuse reflection dominates; saturation can read lower.
- Undertone color seems muted or washed.
- Benefit: forgiving of texture; risk: less vivid, can read as tired.
Correction: if your brief demands consistent undertone saturation across multiple angles, use a small, tight modifier (parabolic or 1×1 ft softbox) to concentrate specular information, and place it at an angle that ensures the camera receives a high proportion of direct, not scattered, light. For context on how light quality shifts texture and saturation, compare soft vs hard light across genres. This will maintain saturation consistency even as camera angle changes.
Recap: The Angle-Light Framework
- Define your angle first. Low, high, or three-quarter, choose based on subject and story, not lighting convenience.
- Measure your light source SPD. Use an app (like Spectral, Luxi, or a full meter) to identify weak wavelengths. If your fixture is weak in the 580-600 nm range (critical for skin saturation), low angles alone cannot compensate; you need a different source or added fill.
- Position key light relative to camera angle. Low angles want higher, down-angled keys; high angles want side or lower keys.
- Synchronize shutter speed to light flicker frequency. Plan frame rate and shutter speed before you set the angle, so you're not forced into a flicker-prone setting.
- Test skin tone in your target lighting at the intended angle. Shoot a test frame, review on your monitor (not your phone). Skin undertone saturation and evenness are the north star. If skin looks true, everything else will follow.
Next Steps: Build Your Angle-Light Library
Start documenting your setups. For each shoot, record:
- Camera angle (degrees from horizontal, or descriptive: "45° three-quarter, camera 6 feet from subject")
- Key light type, position, distance, and SPD (if measured)
- Fill light source and distance
- Ambient sources and their CCT
- Shutter speed and frame rate
- White balance setting (Kelvin, auto, or custom)
- ISO, f-stop, focal length
- One frame of the final shot, plus a skin-tone reference card if possible
Over 5-10 shoots, patterns emerge. You will find that certain angle-plus-light combinations consistently yield true skin tone and tight color cast in post-correction. These become your recipes. You will also identify which angles expose you to mixed-light problems and which shutter-speed ranges cause flicker in your typical venue.
The goal is not formulaic repetition, it is confidence. When you walk into a new small office or client space, you will quickly recognize which of your proven setups maps to that environment, what single adjustment (modifier swap, distance, or angle tweak) is needed, and what your capture baseline will be. No gambling on guesswork. No "let's fix it in post."
Match by spectrum, not rumor. Light a scene with a clear understanding of your fixture, your angle, and your target, and skin tone will repay the effort with consistency and truth.
Related Articles