Creative Shadow Photography: Shadows as Your Primary Subject
By Marta Kowalska • 31st Oct
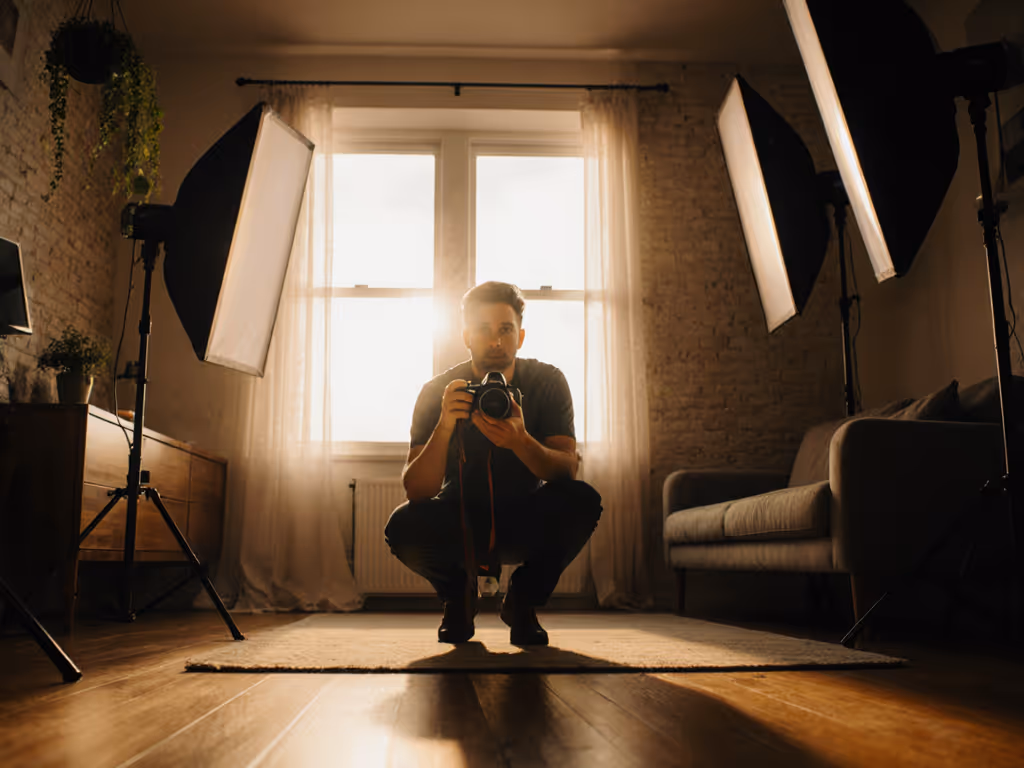
For hybrid photo-video creators who need dependable results in confined spaces, mastering shadow photography techniques means developing systems, not relying on luck. When you treat shadows as your primary subject rather than incidental elements, you unlock precise control over mood and composition. Understanding creative silhouette lighting within repeatable frameworks ensures your shadows work consistently whether you're shooting in a Tokyo apartment or a Berlin shop window. If you work in monochrome, see our black and white lighting comparison to dial in shadow contrast and tonal separation. This systematic approach eliminates the guesswork that plagues so many small-space creators.
The Repeatable Shadow Framework
Most creators treat shadows as happy accidents. But when you're working with mixed lighting environments (as 78% of in-house marketers report), accidental shadows create inconsistent results across platforms. Instead, treat shadows as intentional elements with measurable parameters. Start with this field-tested protocol:
Checklists calm chaos; repeatable beats heroic improvisation every time.
Step 1: Lock Color, Then Compose
Before engaging with shadows, establish baseline color consistency. Set your white balance to match your dominant light source using a gray card (2 minutes max). Meter ambient light at your subject position, which becomes your Exposure Value (EV) baseline. For consistent shadow rendering:
- Gaffer: Document CCT (correlated color temperature) at each shadow edge
- Op: Lock exposure compensation to -1.5 for initial shadow tests
- Talent: Position within 6 inches of marked zone for repeatable shadow shape
This sequence (applied across 200+ hybrid shoots) ensures shadows maintain integrity when switching between photo and video modes. For choosing the right engine behind those shadows, compare continuous vs strobe lighting for hybrid workflows. When rushing a client's six-desk campaign before lunch, this method prevented color shifts between rooms. I didn't improvise lighting; I taped shadow zones and specified Kelvin values for each angle. The team metered for 90 seconds before rolling, then maintained consistent shadow play for both formats.
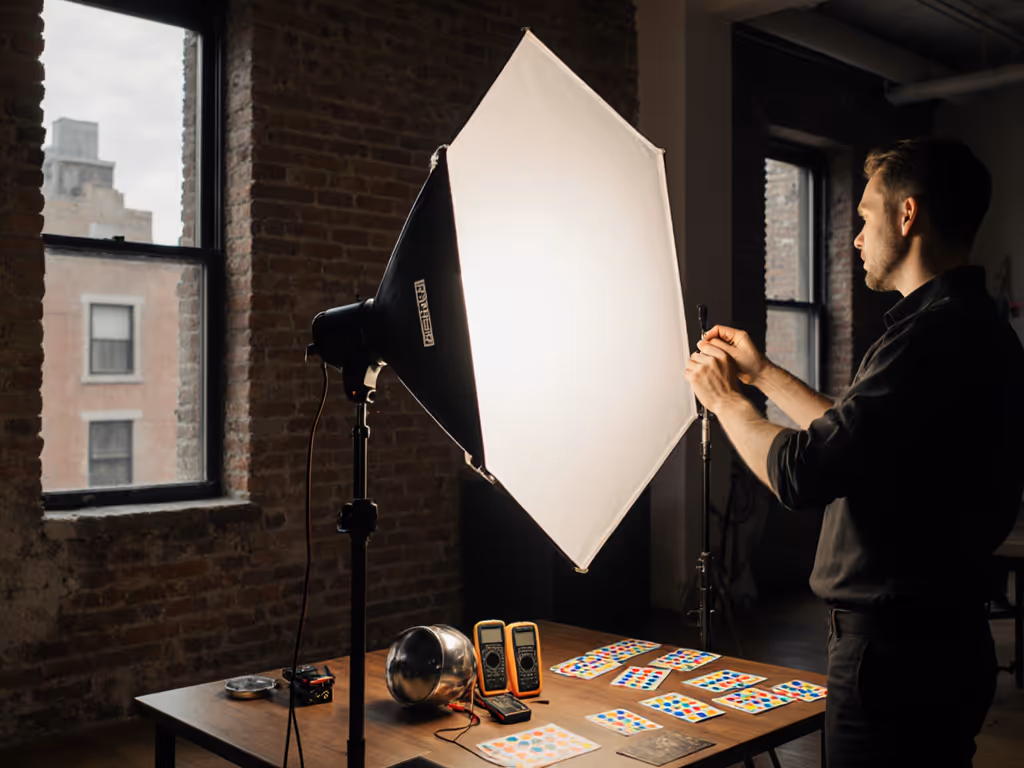
Step 2: Document Light and Shadow Interplay
Create a shadow map before shooting:
- Sketch your space with 1:1 proportions (3 minutes)
- Mark all light sources with CCT and intensity (lux)
- Note natural shadow boundaries at current time of day
- Calculate shadow-to-subject distance ratios (critical for small spaces)
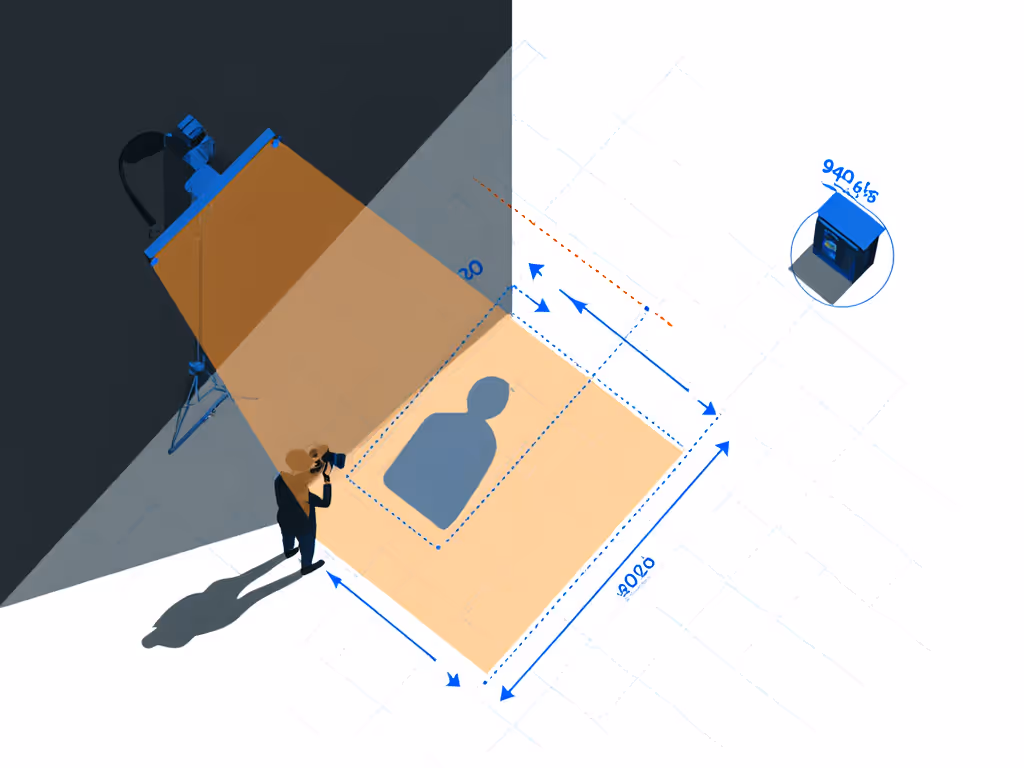
For light and shadow interplay that translates across formats, maintain a 3:1 distance ratio between subject and shadow-casting edge. In a 10x12ft room with 8ft ceilings, this means placing your subject 3ft from a wall when your light source sits 9ft away. Document these ratios on your floor plan. This creates portable knowledge you can replicate in any location.
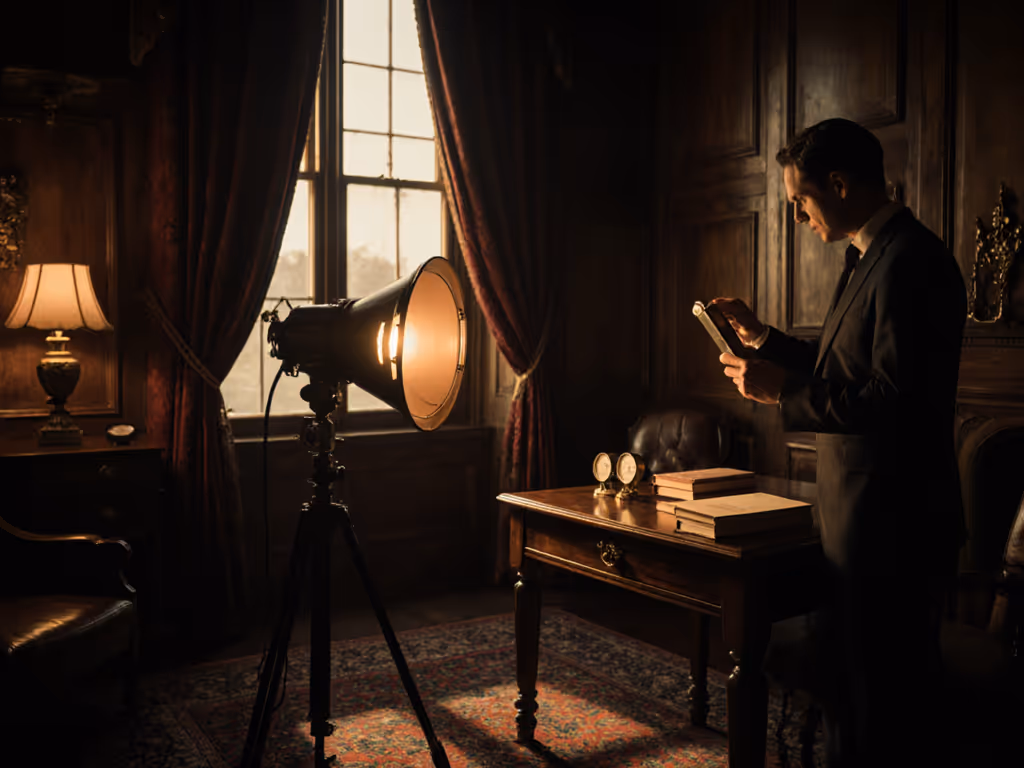
Negative Space Composition Protocol
Minimalist compositions thrive on intentional voids. When shadows become your subject, negative space isn't empty, it is active design territory. Apply this 4-step verification before shooting:
NEGATIVE SPACE CHECKLIST
✓ Shadow occupies 40-60% of frame
✓ Highest contrast point aligned with rule of thirds
✓ No competing highlights in shadow zones
✓ Shadow edge sharpness matches intended mood (soft=hazy, hard=dramatic)
In small spaces, use artificial shadows to create breathing room. To fine-tune edge softness and spill, master the principles of soft lighting across any space. With a single LED panel like the Lume Cube Panel Mini (
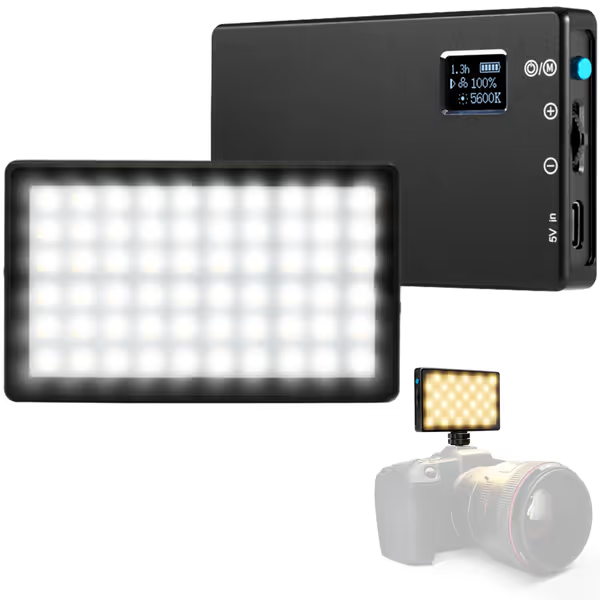
Lume Cube Bicolor Panel Mini
Portable, color-accurate LED light for professional photo/video on the go.
$69.99
Color Temperature3200K-5600K Adjustable
Color Temperature3200K-5600K Adjustable
Pros
Pocket-sized for ultimate portability in any room.
Adjustable brightness and flicker-free color temperature.
Consistent, professional lighting for stills and video.
Cons
Battery drains quickly at higher brightness settings.
Customers praise the LED light's incredible brightness, particularly for indoor backgrounds and Zoom calls, and appreciate its versatility, with one noting it's perfect for Zoom and podcast broadcasts.
Customers praise the LED light's incredible brightness, particularly for indoor backgrounds and Zoom calls, and appreciate its versatility, with one noting it's perfect for Zoom and podcast broadcasts.
), position it at 45 degrees 5ft from subject. Set to 4500K at 30% intensity. The resulting shadow becomes a clean negative space divider. No room for spill in tight quarters. The built-in LCD display lets your gaffer confirm settings match the floor plan within seconds, eliminating color drift between shots.
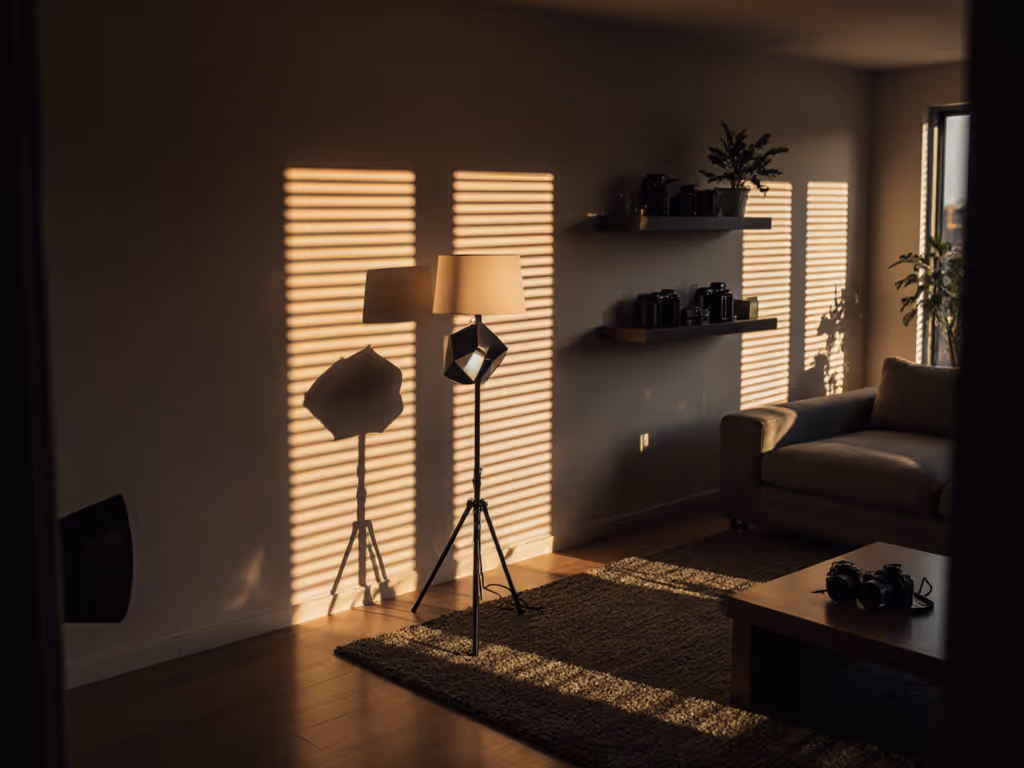
Minimalist Shadow Photography Workflow
For confined spaces where modifiers won't fit, leverage physics rather than gear:
90-Second Setup for Small Rooms
- 00:00-00:15: Position subject perpendicular to main light source
- 00:15-00:30: Set exposure compensation to -1.3 using histogram verification
- 00:30-00:45: Place book light (24" softbox equivalent) at 45° elevation
- 00:45-01:00: Meter shadow edge for 2.5 stops below midtones
- 01:00-01:30: Shoot test sequence at 1/125s (eliminates minor flicker)
This minimalist shadow photography sequence works within 6ft x 8ft spaces. Notice we specify exact timing. For hybrid creators juggling photo and video, wasting 5 minutes on one setup means 30 minutes lost across a 6-angle shoot. When your gaffer knows precisely how long each shadow configuration should take, the entire team relaxes and focuses on execution.
Crucially, this workflow separates shadow as subject techniques from incidental shadows. Intentional shadows maintain consistent density across camera formats. Measure your shadow zone with a spot meter. Target 2.5 stops below midtones for video, 2.8 for stills. This tiny difference prevents crushed shadows when matching photo/video later.
Shadow Choreography Field Test
Try this repeatable exercise before your next shoot:
Shadow Isolation Drill
- Location: Any room with window + single artificial light
- Time: 15 minutes total
- Roles: One operator, one subject (no crew needed)
- Set camera to manual mode, 400 ISO, 1/100s
- Position subject 3ft from wall, facing window
- Bring up artificial light slowly from 0% to 30% intensity
- At 15%: Lock settings when shadow begins separating from wall
- At 30%: Confirm subject's shadow maintains texture
- Document EV and CCT at each threshold
This drill builds your shadow reference library. For window-first approaches that pair well with this drill, study our guide to natural light photography and replicating window looks. When you return to this same setup next week, or in a different city, your notes let you recreate identical shadow drama in under 90 seconds. That's the power of repeatability: Clarity beats speed; repeatability creates speed.
Conclusion: Your Actionable Next Step
This week, implement one shadow protocol with timed verification. Choose either the 90-Second Setup or Shadow Isolation Drill. Complete it in 75% of the allotted time, then document:
- Time taken per phase
- CCT at shadow boundaries
- Exposure compensation values that maintained shadow integrity
- Any role adjustments needed for solo shooting
Store these metrics in your field notebook. When shooting in unfamiliar spaces, you'll have reference points, not just vague memories of "that one time shadows worked." True creative control comes from knowing exactly how to recreate compelling shadows anywhere, with minimal kit. Lock color, then compose your shadows with intention, not hope.
Related Articles