Fire Photography Lighting: Safety-Conscious Techniques
By Marta Kowalska • 7th Feb
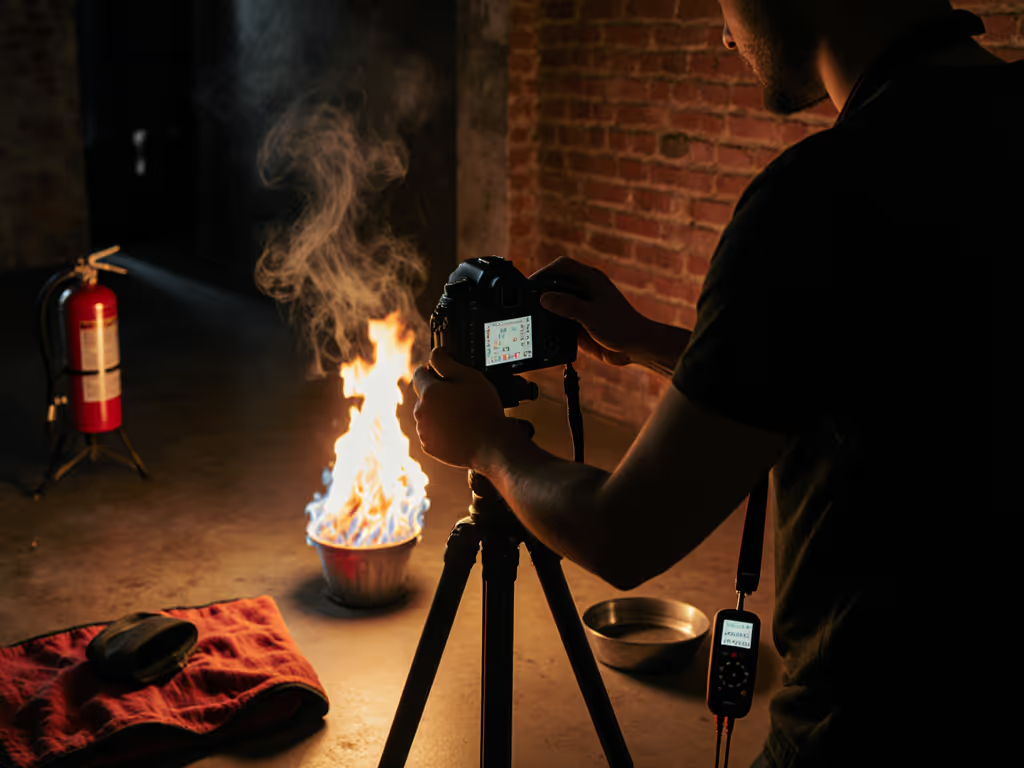
When planning fire photography lighting for your next project, atmospheric lighting techniques demand equal parts creativity and protocol. Fire creates dynamic lighting patterns unmatched by artificial sources, but it requires systematic planning to capture safely and consistently. Without structured approaches to safety-conscious lighting, you risk equipment damage, inconsistent color, or worse, serious injury. For a deeper checklist on preventing electrical overloads and fire hazards, see our studio electrical safety guide. As a lighting choreographer who standardizes hybrid photo-video workflows, I've seen crews achieve stunning fire-lit results through repeatable systems, not heroics.
How do I safely incorporate fire into my photography lighting setup?
Begin with your safety protocol 48 hours before shoot day. Checklists calm chaos; your fire safety plan must include:
-
Location assessment (24 hours pre-shoot): Verify no flammable materials within 10 feet, ceiling height clearance (minimum 12 feet), and wind conditions below 10 mph. Document this with your gaffer using a simple grid diagram.
-
Fire suppression triad (arrive 90 minutes early): Position one assistant with a 5-gallon water bucket, another with a Duvetyne fire blanket, and a third with a Class ABC extinguisher. Conduct a 5-minute dry run of fire containment procedures.
-
Burn time limits: Never exceed 15-second controlled burns. After 12 seconds, your gaffer calls "3-2-1 shutdown" (a timing cue proven to prevent oversight when crews get absorbed in shooting).
Always treat fire as a co-equal crew member requiring its own safety brief. This mindset shift transforms reckless experimentation into repeatable lighting choreography.
What camera settings work best for capturing atmospheric lighting techniques with fire?
Fire's brightness range (up to 3000 cd/m²) demands metering discipline. Follow this 4-step exposure protocol for consistent results:
-
Meter the flame first: Use spot metering at 1/125s, f/5.6, ISO 400. Adjust until flame reads +1.5 EV.
-
Set secondary exposure: For subjects near fire, add fill light to achieve subject exposure at -1.0 EV relative to flame. This preserves fire's brilliance while maintaining skin tones. If you're balancing fire's hard key with soft fill, review our soft vs hard light skin tone guide.
-
Shutter speed protocol: Maintain 1/1000s minimum to freeze smoke particles. For spark effects, drop to 1/250s but monitor heat proximity.
-
Color calibration: Shoot a gray card at flame height before ignition. Note the Kelvin value (typically 1500-2000K) for consistent post-production matching across cameras.
Avoid auto white balance, since fire's dynamic lighting patterns will cause shifting color casts. I once documented a chef shoot where inconsistent flame metering led to 47 mismatched shots across two cameras. My solution? Tape a reference card showing "Flame WB: 1850K, Subject WB: 3200K" to each camera. With one-minute meter checks between angles, the crew delivered cross-format consistency before lunch.
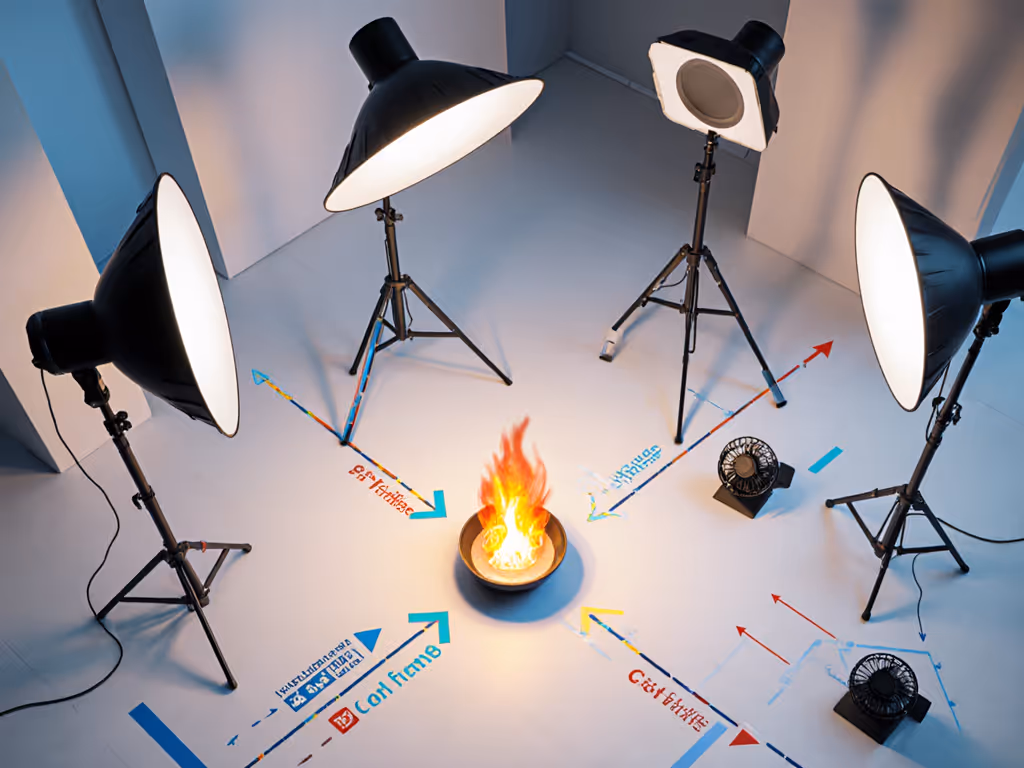
How can I create dynamic lighting patterns from fire effect illumination without compromising safety?
Fire's organic movement creates unparalleled lighting, but requires controlled parameters. Implement these boundaries: To shape the look safely, revisit lighting angles fundamentals to see how direction changes color, contrast, and specular control.
-
Fuel control: Use only ethanol-based gels (not lighter fluid) which burn cleaner and produce predictable 8-12 second flame durations. Document burn times for each fuel type in your lighting log.
-
Distance matrix: Maintain 3:1 ratio between flame height and subject distance (e.g., 12" flame = minimum 36" from subject). Measure once, tape markers, and verify every reposition.
-
Smoke management: Position smoke machines perpendicular to flame to create dynamic lighting patterns without obscuring the fire source. Use fans at 20% power to direct smoke flow away from talent.
What are the best practices for diffusion for smoke photography?
Smoke requires different diffusion strategies than standard lighting. Follow this sequence:
-
Assess particle density with a handheld photometer. Ideal range: 100-300 lux at 2 meters from flame source.
-
Apply diffusion in layers: Start with no diffusion, then add:
- First layer: 1/8 grid at 18" from flame (creates defined smoke channels)
- Second layer: 24" softbox at 45 degrees (softens harsh edges)
- Third layer: Rosco Supergel 118 at subject position (warms smoke without altering flame color)
- Monitor with waveform: Watch RGB parade scopes to prevent smoke from causing green spikes. Keep green channel no more than 5% above red.
In a recent product shoot, my crew used diffusion for smoke photography to create ethereal packaging shots. We established a 90-second cycle: 30 seconds to adjust smoke density, 30 seconds to capture, 30 seconds for equipment cooling. This rhythm maintained consistent output while preventing heat buildup.
How do I maintain consistent color across different shots when using fire effect illumination?
Cross-format consistency requires color discipline:
-
White balance protocol: Assign one crew member as "color captain" responsible for:
-
Metering flame WB every 15 minutes
-
Logging Kelvin values with timestamps
-
Swapping gray cards between cameras during breaks
-
Exposure targeting: Use incident meter readings of 12.5 ft/l at subject position as your baseline. This creates 1.5 stops of highlight headroom for flame variation.
-
Post-production anchor: Always include a X-Rite ColorChecker in at least one wide shot per scene. Process these first to establish color reference for the entire sequence.
Hybrid crews often fail by treating fire as "special" lighting. In reality, it requires the same systematic approach as your LED panels (just with more rigorous safety checks). For choosing a color-stable fill system around open flame, see our continuous vs strobe comparison. When a cosmetics brand needed fire-lit product shots across six locations, I implemented a "flame metering dance": one-minute checks at top, middle, and bottom of each set. This took 18 minutes total but saved 3 hours in color correction.
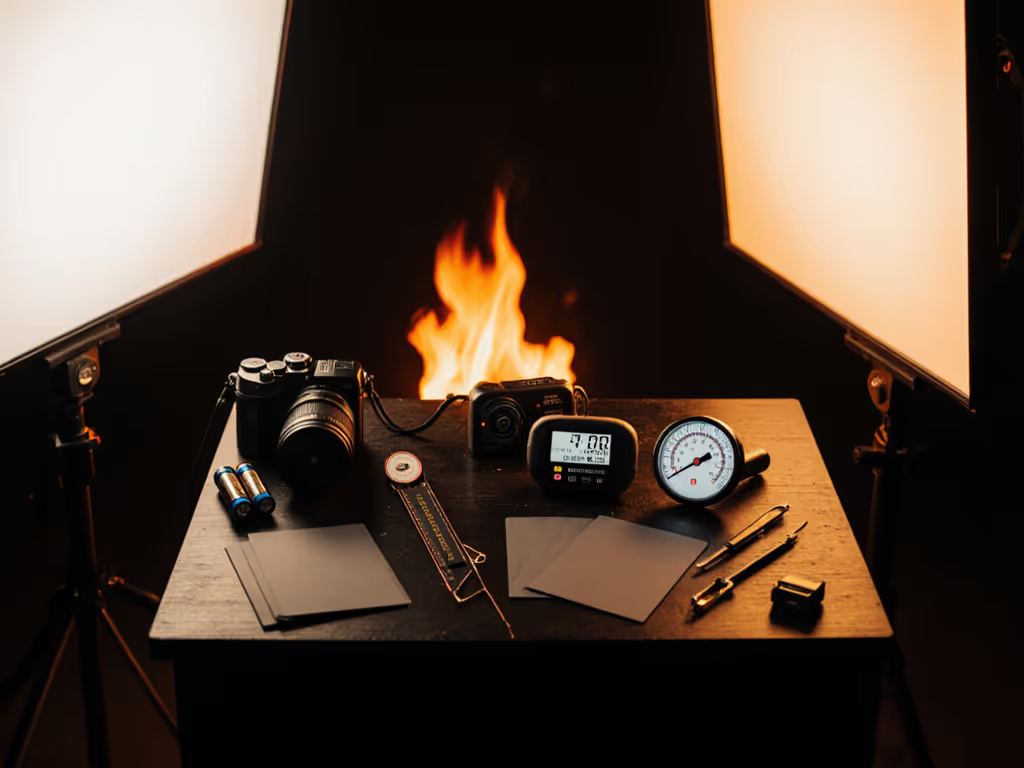
What checklist should I follow before every fire photography session?
Adopt this pre-ignition sequence (to be completed 15 minutes before first burn):
- Safety triad verification:
- Water source within 15 seconds reach ✅
- Fire blanket unfolded and accessible ✅
- Extinguisher gauge in green zone ✅
- Environmental scan:
- Wind speed <10 mph (anemometer reading documented) ✅
- No smoke alarms in 20-foot radius ✅
- Talent briefed on emergency exits ✅
- Equipment check:
- Camera WB set to predetermined flame value ✅
- Backup batteries for all devices ✅
- Gray cards positioned at all shooting angles ✅
- Burn protocol:
- Fuel quantity measured and documented ✅
- Timer set for 15-second maximum burn ✅
- Gaffer assigned shutdown responsibility ✅
Repeatability creates speed. That "magic" fire-lit shot your audience sees required 27 documented variables, not improvisation. Clarity beats speed every time.
Actionable Next Step
Before your next fire photography session, create a lighting choreography sheet using this template:
- Sketch your set with flame positions marked
- Note exact fuel type and burn duration for each position
- Document meter readings (Kelvin, lux) at 0, 5, and 10 minutes
- Assign specific safety roles with time-stamped responsibilities
Print this on kraft paper and tape it to your light stand. In 90 days, you'll have a reference library showing exactly how your atmospheric lighting techniques evolved, all while keeping your crew safe. Checklists calm chaos; your next fire-lit masterpiece begins with organized preparation, not hopeful improvisation.
Related Articles