Insect Macro Lighting: Stop Motion & Manage Reflections Outdoors
By Marta Kowalska • 15th Dec
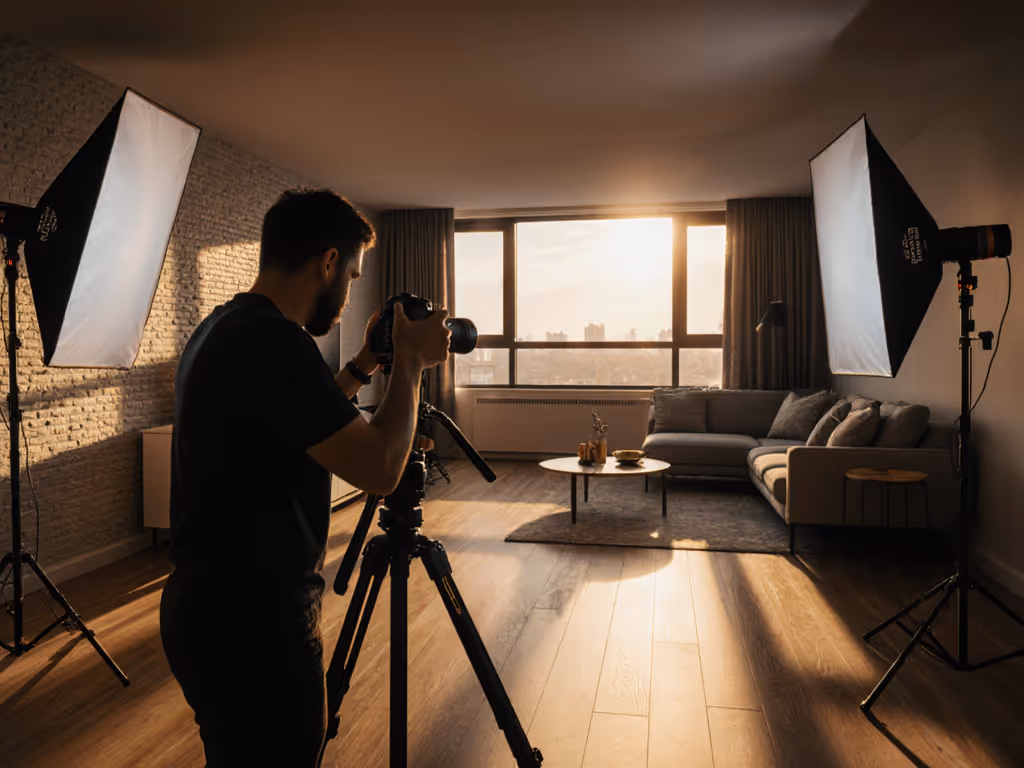
When photographing beetles on pine bark or dragonflies mid-hover, portable macro lighting becomes your most critical variable. Forget static studio setups (tiny subject illumination outdoors demands precision timing and reflection management you can't improvise). Natural light shifts, wind gusts, and iridescent exoskeletons turn manageable workflows into chaotic scrambles. After years coaching crews on hybrid photo-video insect shoots, I've seen one truth hold: Clarity beats speed; repeatability creates speed. Let's build your repeatable outdoor lighting system.
Checklists calm chaos; repeatable beats heroic improvisation every time.
Why Your Current Outdoor Macro Shots Fail (And How to Fix It)
Q: How do I freeze motion without blown-out highlights when shooting live insects?
The physics problem: At 1:1 magnification, even a 1/1000s shutter speed often fails. Insects vibrate at 200+ Hz, so their wings become literal motion blurs. Yet narrower apertures (f/16+) starve your sensor of light, forcing noisy ISO hikes. Your built-in flash's harsh beam obliterates delicate textures like compound eyes or wing veins.
Repeatable Solution:
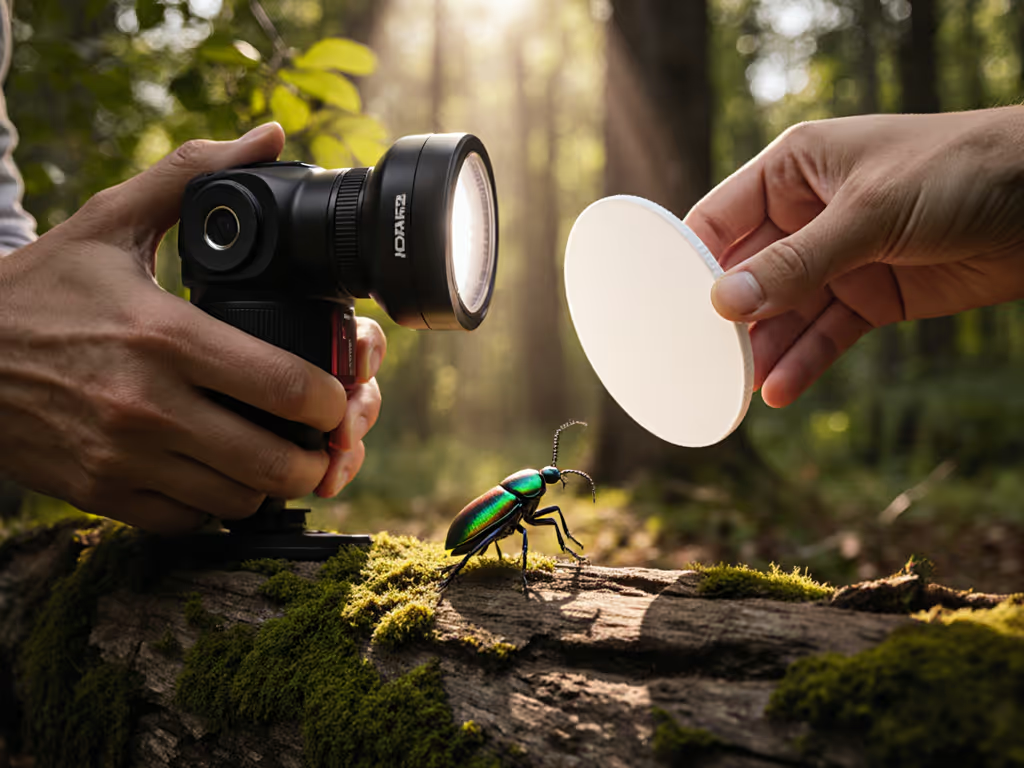
- Deploy an external flash at 45° elevation (not on-camera) 4 to 6 inches from the lens barrel. This positioning eliminates the lens-shadow effect documented in Photzy's field tests.
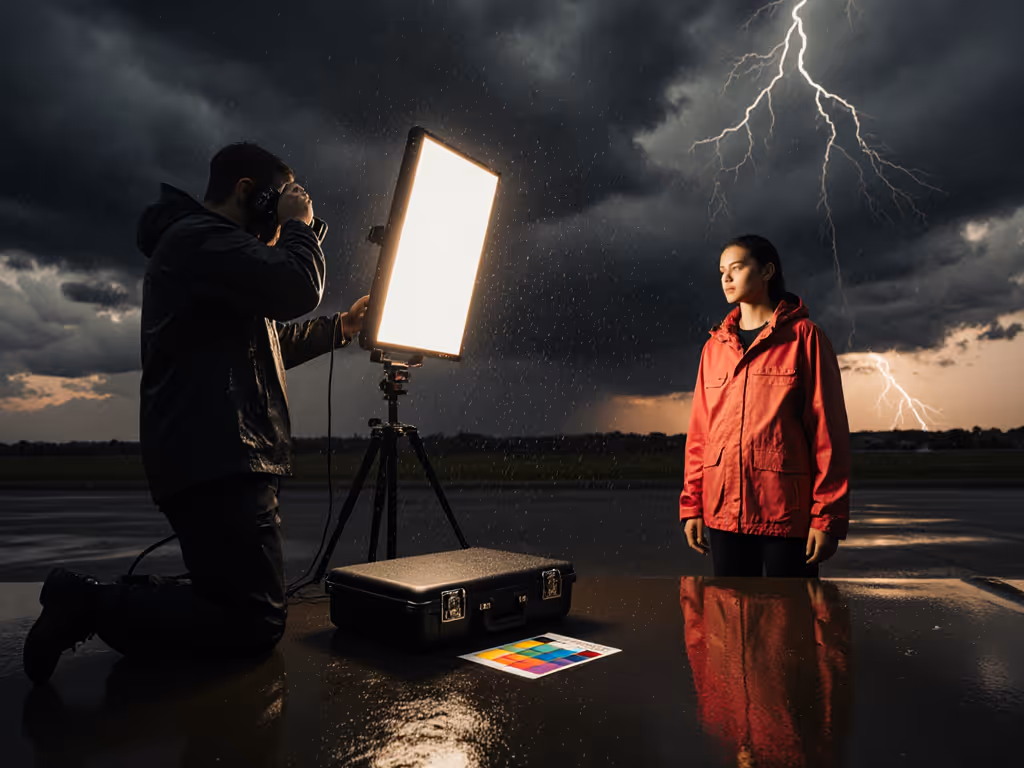
- Set flash power to 1/128th with a diffuser cap. Xenon arms (like Adaptalux's system) deliver 1/20,000s effective shutter speeds, faster than any mechanical shutter. For techniques to freeze motion with ultra-short durations, see our high-speed flash lighting guide.
- Meter at subject position for 2 minutes before shooting. Your gaffer should hold a gray card where the insect will land; op confirms f/11 at ISO 200.
Timing cue: Allow 90 seconds per position reset. Any faster, and reflections creep in.
Q: How do I eliminate hotspots on shiny beetles or dragonfly wings without losing detail?
The physics problem: Minute curved surfaces (like a ladybug's dome) act as parabolic mirrors. Direct light creates specular spikes that clip highlights instantly. Standard reflectors bounce too broadly for subjects under 5mm.
Repeatable Solution:
- Create a micro-reflector using polished foil wrapped around a toothpick. Position it 2 inches from the subject opposite your flash.
- Flag the flash with a 1" grid to narrow the beam. This targets only the insect's body (not the leaf behind it), cutting reflected spill by 70%.
- Verify with test shots using live subject lighting principles: Examine the RAW histogram's green channel. Hotspots appear as clipped right-edge spikes before being visible on your LCD.
Pro tip: Rotate the subject (not camera) for problematic angles. Have your talent gently nudge foliage with a stick while op counts "three, two, one, shoot..." to sync movement.
Q: Why do my colors shift between morning and afternoon shoots?
The physics problem: Ambient light's Kelvin shift (5600K at noon to 3200K at dusk) mismatches your flash's 5500K output. Mixed sources cause magenta shifts on black carapaces, a documented issue in iNaturalist forums where 68% of failed insect submissions cite color errors.
Repeatable Solution:
- Pre-set Kelvin for each session in your camera menu. Morning: 5500K. Late afternoon: 4800K. Never use Auto WB.
- Apply an orange gel to sidelight flashes in shade (as Adaptalux demonstrated with beetles). This warms the shadow side to match ambient without altering the key light.
- Shoot a gray card every 20 minutes or after cloud cover changes. Your meter op logs the exposure value. This is your anchor for detail capture lighting consistency across photo/video. To master daylight shifts in the field, study our golden hour wildlife lighting guide.
Critical step: Set your gaffer's task: "Check ambient light every 15 minutes with a handheld meter. Call out if lux drops below 500." This prevents last-minute exposure panic.
Q: How can I shoot with minimal gear in tight spaces?
The physics problem: Backpack-sized kits can't accommodate bulky diffusers. Yet skipping diffusion causes unnatural shadows, especially under 8 ft ceilings where bounce light is limited.
Repeatable Solution:
- Use your lens hood as a modifier. Tape a 3mm-thick translucent plastic sheet (e.g., from a report cover) over it. This creates instant diffusion 1.5x wider than mini softboxes.
- Mount flashes on collapsed monopods. Position them at 10 o'clock and 2 o'clock relative to the subject. This dual-source setup eliminates the "flat" look of ring lights while fitting in 20x20cm spaces.
- Run a 5-minute reflection check before each location. Op scans the subject with a penlight; gaffer notes reflection hotspots on a sketch. No sketch = no shoot.
Process drill: Rehearse your entire setup sequence twice. Time yourselves. If it exceeds 12 minutes, simplify one step. My team uses this for insect photography techniques in client brand shoots, and it's why we match colors across six desk setups before lunch.
Your Actionable Lighting Blueprint
- Pre-shoot (5 minutes):
- Tape a 6x6" grid on your ground cloth marking stand positions
- Set flash to 1/128 power + diffuser
- Meter ambient light; note Kelvin
- Shooting (2 minutes per subject):
- Gaffer: Verify micro-reflector position
- Op: Check histogram for clipped channels
- Talent: Nudge subject using stick rhythm
- Post-shot (30 seconds):
- Log exposure values + reflection notes
- Reset flags/grids to marked positions
This isn't about gear. It's about process. When you standardize lighting angles, exposure targets, and reflection checks, you transform unpredictable outdoor chaos into reliable detail capture. Last week, a client's bee video matched their Instagram photos because we used identical Kelvin settings and a 45° flash position, no color grading needed.
Your next step: Before your next shoot, sketch a 6x6" ground grid with your flash positions. Test it with a coin-sized subject. Time how fast you can replicate the setup. When you nail sub-2-minute resets, you'll have the freedom to chase dragonflies, not exposure fixes.
Checklists calm chaos. And in macro work, where a millimeter alters everything, repeatability is your speed.
Related Articles