Newborn Photography Lighting: Safe Skin Tone Accuracy
By Harper Nguyen • 29th Nov
In newborn photography lighting, safety isn't just about eye protection, it's about consistent, color-true illumination that won't compromise infant portrait lighting safety during critical first-week sessions. As a hybrid shooter who's managed lighting through power grid fluctuations and thermal emergencies, I know that quiet, cool, color-true illumination without hunting for outlets or breakers makes the difference between usable frames and wasted hours. Let's break down how to achieve medically safe lighting that also delivers accurate skin tones, without risking your client's trust or your reputation.
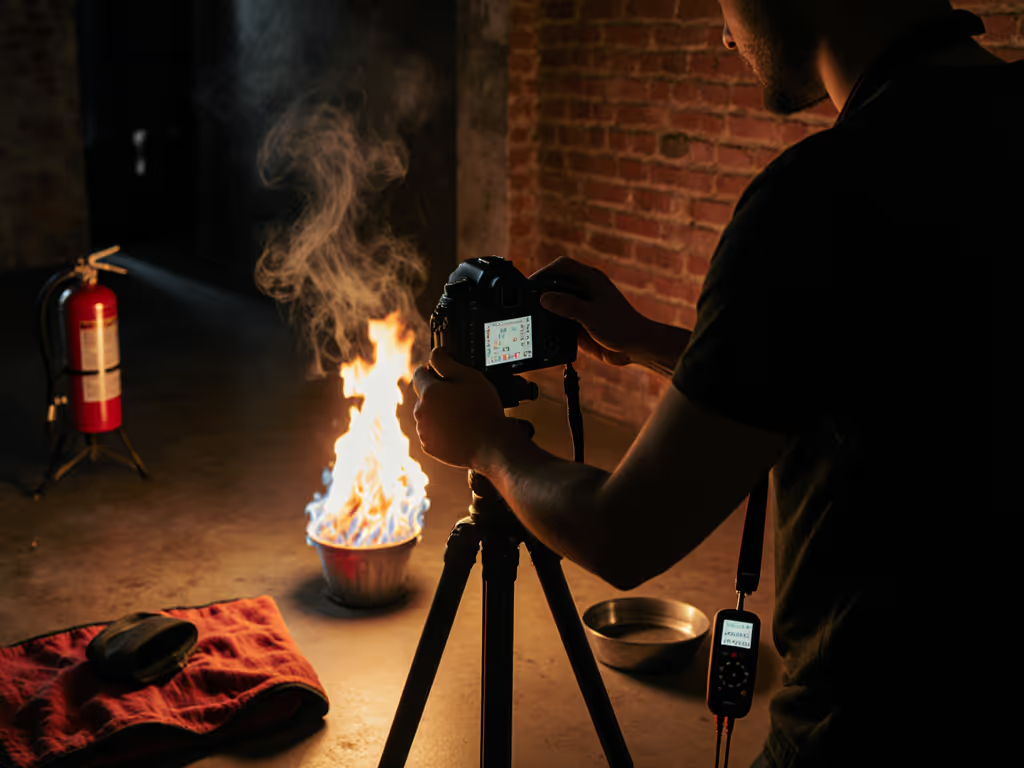
Quiet, cool, and consistent beats sheer output in real rooms. This truth became my mantra after a venue's AC system killed house power during vows recording (our mains-powered key died mid-sentence, but the battery backup I'd staged silently carried us through without a color shift or noise spike).
1. Validate Your Light's Spectral Integrity Before Baby Arrives
Don't trust marketing claims, measure CRI/TLCI with a spectrometer. For vetted high-CRI continuous options, see our hybrid video lighting panels guide. Most budget LEDs promise "95+ CRI" but deliver spiky spectra that render newborn skin tones as waxy or jaundiced. I budget amps before angles by selecting lights with verified TM-30 RF ≥ 95 and RG between 98-102. The Aputure Amaran 200X S, for instance, delivers SSI (Tungsten) 90+ with TM-30 RF 97/RG 101, ensuring alabaster newborn complexions stay neutral without post-production guesswork. Always run a 30-minute thermal test first:
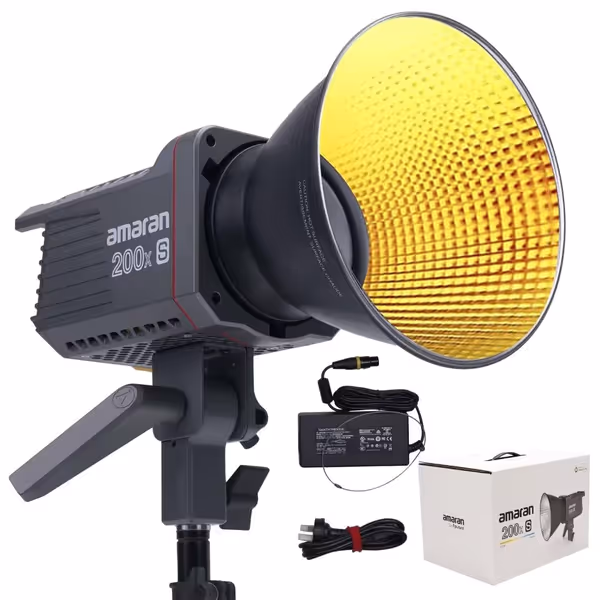
Amaran 200X S Bi-Color LED
Achieve true-to-skin and product color in any real room.
$279
Color QualitySSI (Tungsten): 90+, SSI (D56): 89+
Color QualitySSI (Tungsten): 90+, SSI (D56): 89+
Pros
Superior color accuracy (CRI 95+, TLCI 98+) for flawless skin tones and product colors.
Dual power options (AC/DC) enable portable, power-aware setups.
Sidus Link App control for fast, repeatable adjustments in any space.
Cons
External batteries required for portable DC operation (not included).
Customers love the excellent lighting quality, brightness, and incredible value for serious content creators, praising its studio-quality color rendering and ease of adjustment.
Customers love the excellent lighting quality, brightness, and incredible value for serious content creators, praising its studio-quality color rendering and ease of adjustment.
notes dB(A) at one meter should stay below 25 when operating at 50% output (critical for sleeping infants).
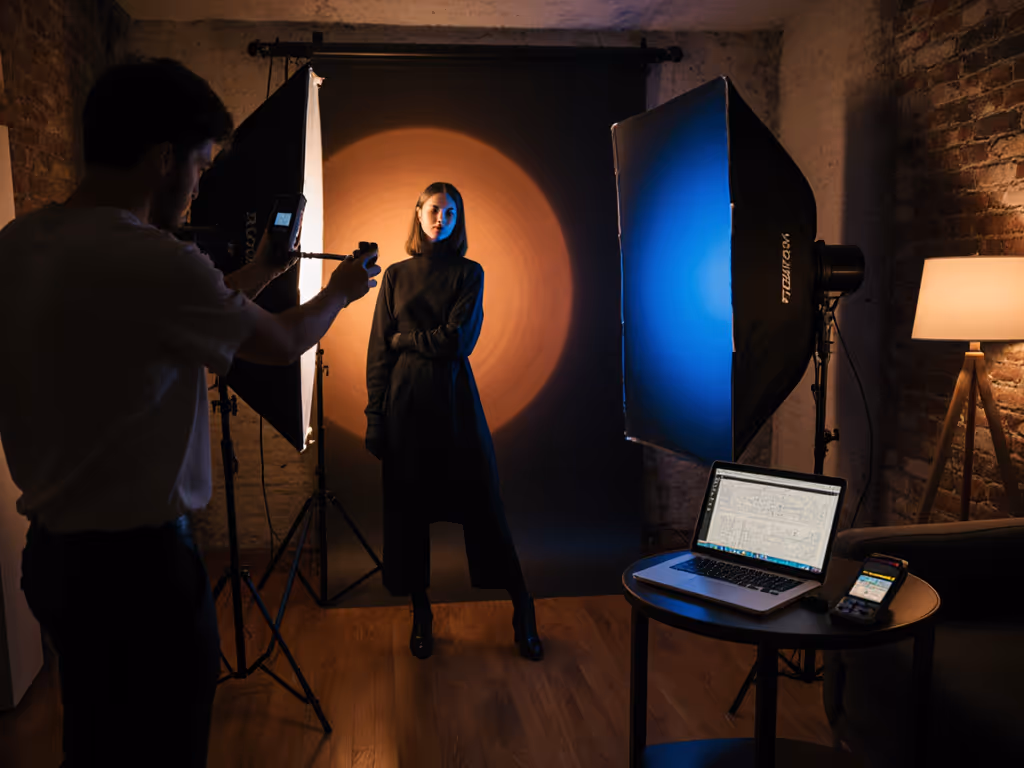
2. Implement Battery-Redundant Top Lighting
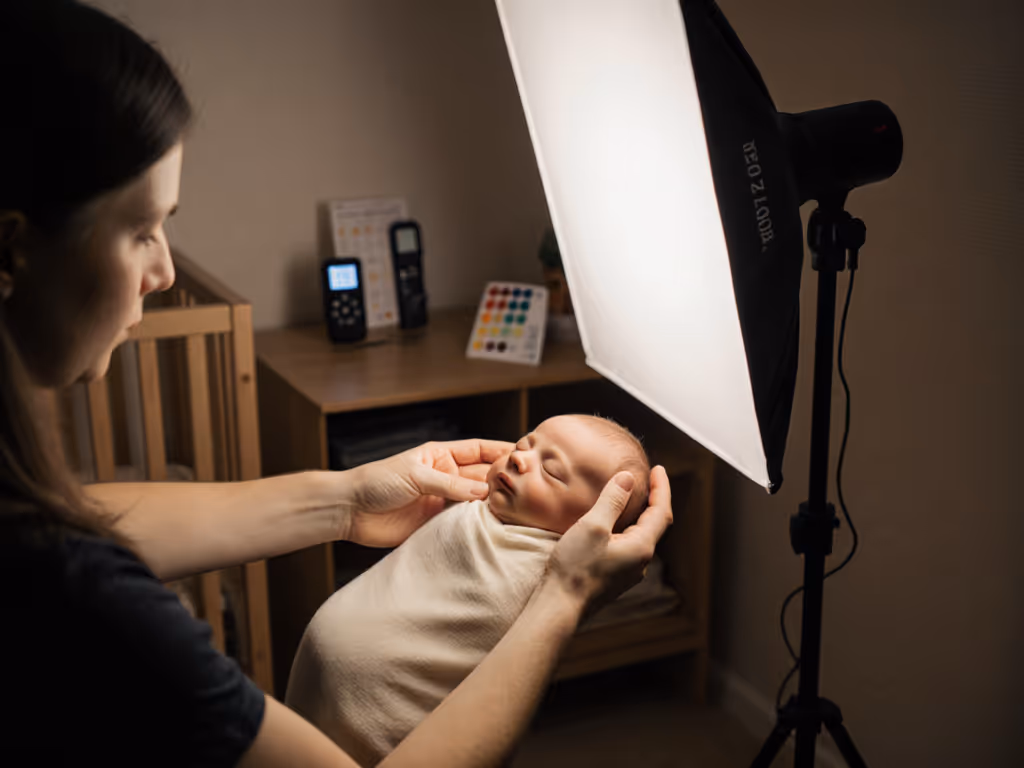
Your primary light must operate independently of venue circuits. Mains failure during feeding poses (when baby's eyes are most exposed) creates untenable risks. I stage a fanless LED panel at 45° above the posing area, powered by V-mount batteries that state current draw and expected runtime in real time. At typical newborn shoot distances (3-4 feet), 150W creates 1200 lux without thermal throttling, any higher wattage risks overheating in small rooms. Position the key light so its spill misses the baby's eyes by at least 15 degrees, then feather the modifier edge toward the infant to soften transitions. If light direction needs a refresher, this lighting angles primer shows how overhead, side, and feathered placement affect skin tone and shadow quality. This configuration maintains safe illuminance (< 800 lux at eye level) while delivering diffused light from above, avoiding that ghoul-lighting effect photographers fear.
3. Match Ambient CCT Within 200K Tolerance
Mixed lighting creates green spikes in skin tones, especially dangerous with newborns whose capillary networks are still developing. Use a color meter to document ambient CCT, then dial your key light within ±200K. If shooting near windows, add a 1/4 CTO gel to your fill light to compensate for 5600K daylight shifting to 6500K during sessions. Remember: "baby skin tone accuracy" depends on balanced spectra, not just white balance. I flag thermal throttling behavior by checking histogram red channel headroom, newborn complexions blow out at 95%, so I expose to 85% max on skin tones.
4. Control Thermal Load in 8-Foot Ceilings
Small studios demand precise heat management: infants can't regulate temperature like adults. Your "best studio lighting" must stay below 35°C surface temperature at 2-foot distances. Measure with an IR thermometer during a 20-minute test run, any light exceeding 40°C requires active cooling breaks. I prefer COB LEDs with passive heat sinks over fan-cooled units; even 28dB fans trigger startle reflexes in drowsy newborns. Position modifiers to create shade zones where posing assistants can cool baby's neck with hands, never directing airflow toward the subject.
5. Document Power Budgets Like a Safety Protocol
Treat circuit loading with clinical rigor. Calculate total draw: for a 15A/120V circuit, subtract 20% safety margin (1440W) before adding lights. My compact kit (Aputure 200X S (180W) + monitor (65W) + camera (25W)) runs 270W, leaving 1170W for environmental systems. I always request dedicated circuits from venues, but if sharing, verify other loads (AC units, refrigerators) won't cycle on during shooting. Note: battery-powered units should supply 40 minutes minimum at key light settings, check specs for actual runtime at 5600K output.
6. Verify Safe Light Distances With a Luminance Meter
"Newborn posing lighting" requires precise illuminance control. Aim for 500-800 lux at baby's face, enough for f/2.8 at ISO 100 but below pediatric ophthalmology thresholds. Position your key light at 3.5 feet for 700 lux, then use a gray card to confirm exposure. Never exceed 1000 lux at eye level; this is why I never use spot modifiers for newborn work. Compare outcomes in our soft vs hard light guide focused on skin tone accuracy. Test your setup with a lux meter before baby arrives, and include these measurements in your session log (a practice that's saved me from liability claims when parents questioned light safety).
7. Build Reproducible Setups With Your Lighting Diary
True professionals document what others overlook. For every session, I record: light model, CCT, distance, modifier used, power percentage, and skin tone readings. This "newborn photography lighting" log lets me replicate results across locations. Example: "Aputure 200X S @ 4500K, 40% power, 3.2ft distance, Light Dome Mini III = f/2.2, 1/160s, ISO 100 with 82% histogram on cheekbone." Include thermal readings too, ambient room temperature between 25-28°C prevents overheating when babies are unwrapped.
Next Step: Audit Your Current Setup
Grab your light meter and spend 15 minutes testing your primary light:
- Measure lux levels at 2, 3, and 4 feet
- Record dB(A) at 1 meter during 10-minute runtime
- Check surface temperature with IR thermometer
- Document CCT drift at 5 and 30 minutes
If any metric falls outside safe parameters, reconfigure your setup before your next newborn session. Your lighting diary isn't just a workflow tool, it's your liability shield and quality control system. To refine diffusion choices in tight rooms, study our master soft lighting walkthrough. Start budgeting amps before angles today, and never compromise infant portrait lighting safety for the sake of maximum output.
Related Articles