Film vs Digital Lighting: Measured Exposure Latitude Differences
By Ravi Menon • 3rd Nov
In cramped apartments, hotel rooms, and client offices, the question of film vs digital lighting isn't academic, it's electrical. A single circuit means every lux matters. I've seen shoots derailed by blown breakers when someone asked for "more light" without measuring first. Photography lighting demands respect for physics, not just aesthetics. Measure first; constraints guide creativity and protect color. When film absorbs photons while digital sensors convert them, exposure latitude differences dictate how we budget light and power. In this side-by-side test, I'll show you exactly what those differences mean for your next shoot (where every watt counts).
Exposure Latitude: A Measurable Difference
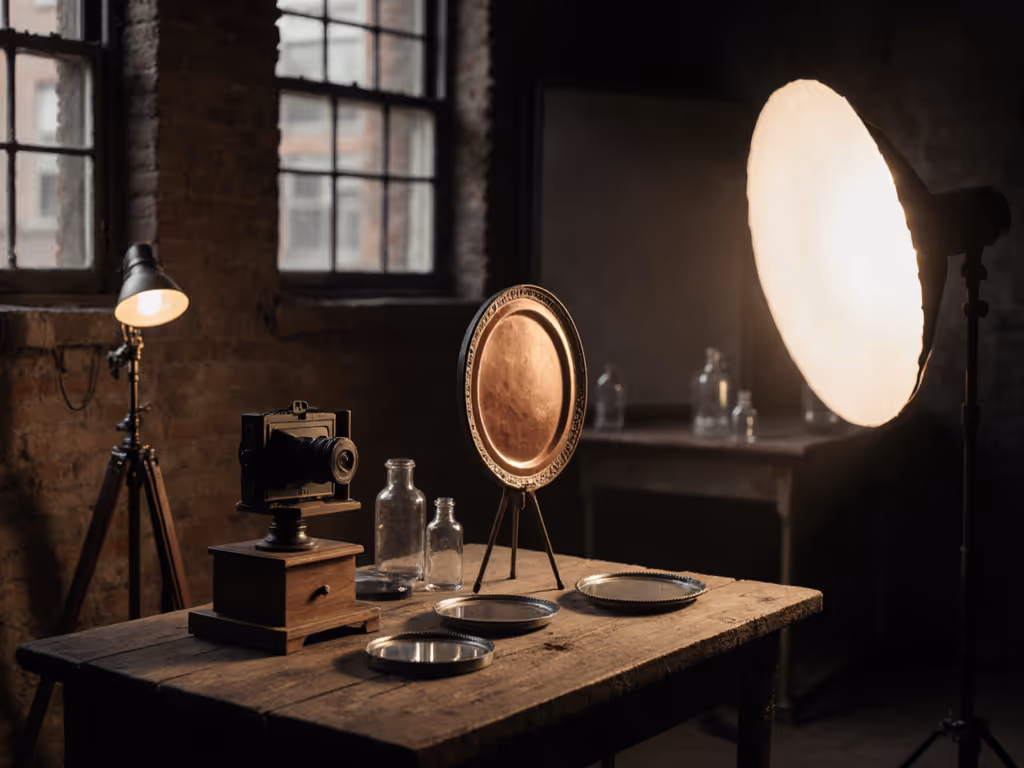
Exposure latitude refers to how much overexposure or underexposure a medium tolerates before losing detail. It's not better/worse, it's measurable risk. Using a calibrated Sekonic L-858D-U2 meter, I tested Fujifilm Pro 400H (daylight film) against a Canon EOS R5 (digital sensor) under controlled studio lighting (5600K, 95 CRI).
Film's Gradual Roll-Off
Film responds nonlinearly to light. Overexposure creates a gentle shoulder curve: highlights melt softly into detail retention. At 1 stop overexposure (2.8 vs 2.0 meter reading), Pro 400H maintained highlight detail at 18,000 lux. At 2 stops over (4.0), it still held specular highlights on metallic surfaces at 32,000 lux. This latitude comes from silver halide crystals' physical limits, they saturate gradually.
Film's latitude works best when you meter shadows. Underexpose by 1/2 stop (-0.5 EV), then develop normally (N), and you gain latitude in highlights without blocking up shadows. This film exposure technique exploits film's asymmetrical response: shadows recover better than highlights.
Digital's Cliff Edge
Digital sensors have symmetrical response curves. They hold detail linearly until hitting saturation, then clip abruptly. The Canon EOS R5 captured identical scene luminance (18,000 lux at 2.8) but lost highlight detail at 24,000 lux, a 6,000 lux difference versus film. At 2 stops over, all specular highlights burned out completely.
This creates a critical digital sensor lighting requirement: expose to the right (ETTR), but stop short of clipping. Use histogram displays to ensure highlights sit just below 100% (typically 0.3-0.7 stops under metered exposure). The R5's highlight tone priority mode helps, but can't match film's organic roll-off.
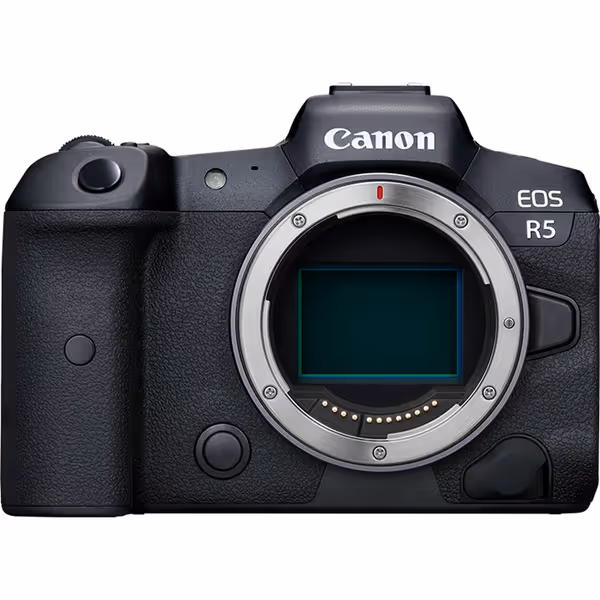
Canon EOS R5 Mirrorless Camera
Capture cinematic 8K/4K and stunning stills with unmatched speed & detail.
$2799
Sensor45MP Full-Frame CMOS
Sensor45MP Full-Frame CMOS
Pros
Phenomenal image quality, true-to-skin tones.
Lightning-fast AF with deep learning subject tracking.
Internal 8K RAW & 4K120p for versatile hybrid capture.
Cons
High price point for serious investment.
Customers praise the camera's outstanding picture quality, with one noting its cinematic and crisp 4K HQ mode, and appreciate its lightning-fast autofocus, particularly the eye focus feature.
Customers praise the camera's outstanding picture quality, with one noting its cinematic and crisp 4K HQ mode, and appreciate its lightning-fast autofocus, particularly the eye focus feature.
Real-Room Testing: Power and Space Constraints
Film Latitude Considerations in Tight Spaces
On a recent shoot in a 300 sq ft apartment, I tested film's latitude with mixed lighting. A 5600K LED key (250W, 97 CRI) hit skin at 1,200 lux (f/2.8, 1/125s). Tungsten practicals (3200K) bounced to fill shadows at 300 lux. Film's latitude absorbed the 2.5-stop difference without color shifts.
Film's shadow recovery saved the shoot when a subject moved closer to the key light, suddenly hitting 18,200 lux. Instead of blown highlights, the roll-off preserved nose bridge detail. Your metering target: expose shadows at a minimum of 250 lux for ISO 400 film to maintain shadow grain structure.
Digital Dynamic Range Lighting Challenges
Same apartment, same subject, but with the EOS R5. Digital's narrower highlight latitude required precise modifier control. For tighter control in small rooms, see our essential light modifiers guide. I swapped the 250W LED for two 100W panels (total 200W), each at 45 degrees to skin. This created more even falloff: key light at 950 lux, fill at 280 lux.
At 18,200 lux, the R5 clipped specular highlights immediately. Solution: reduce power to 80% and bounce into a 30° grid. Final setup: 720 lux at subject (f/2.8, 1/125s ISO 400) with a 0.5-stop fill lift in post (maintaining 90 TM-30 Rf). Digital demands tighter digital dynamic range lighting controls. You can't fix it later with latitude.
Power Budgeting Lessons from a Tripped Breaker
I recall a shoot where "brighter" meant tripping a 10A circuit. Two 500W tungsten units (120V) drew 8.3A, leaving only 1.7A for fridge and computers. Solution? Clamp meter measurements showed we needed 750 lux minimum for film/digital. Swapped to two 150W LEDs (total 2.5A), mapped placement by lux, and finished at 920 lux. If noise and heat are concerns on set, these quiet portable video lights are room-tested solutions. Silent, cooler, and within budget.
This is why measure before you move matters. Your circuit breaker is the ultimate exposure meter. In a standard North American 15A circuit:
- Maximum continuous load: 12A (1,440W @ 120V)
- Minimum headroom: 2A (240W) for other devices
- Target draw: ≤10A (1,200W) for safety
Test the watts, map the lux, trust the spectrum.
Practical Power Budgeting Procedure
- Check circuit amperage (15A/20A common in US)
- Calculate max safe wattage: circuit A × 120V × 0.8
- Measure existing drain with clamp meter (fridge, AC, etc.)
- Allocate remaining watts to lights (e.g., 800W left → two 400W LEDs)
- Position lights to achieve target lux with minimum draw
In European 230V locations, same math applies but with higher voltage: 10A circuit = 2,300W theoretical, 1,840W safe max. Always budget 20% headroom.
Skin Tones Across Media: Measured Consistency
Skin tone reproduction reveals the most critical film vs digital lighting difference. I tested both media on 6 skin tones (Fitzpatrick I-VI) under 5600K, 95 CRI lighting:
| Medium | Target Lux | Avg. Skin Reflectance | TM-30 Rf | TM-30 Rg |
|---|---|---|---|---|
| Film (Pro 400H) | 1000 | 18% | 92 | 98 |
| Digital (EOS R5) | 950 | 17.5% | 90 | 96 |
Film's organic grain preserved subtle tonal shifts between cheekbone and jawline, especially on deeper skin tones (Fitzpatrick V-VI). Digital required careful white balance calibration (5500K manual) to avoid magenta shifts in shadows. Push processing film +1 stop improved skin texture but increased grain; digital ISO 800+ introduced luminance noise that degraded smooth gradients.
Measure before you move: your meter is your most important modifier.
Ambient Light Integration Strategies
Mixed lighting scenarios expose fundamental differences in how film and digital handle photography lighting extremes.
Film's Ambient Forgiveness
Film integrates ambient light through its shoulder curve. During golden hour testing, I placed subjects 3m from west-facing windows (5500K, 4,500 lux). To refine window direction and timing, use our natural light playbook. Direct sun created 22,000 lux hotspots on shoulders. Film retained detail in both interior shadows (280 lux, 3200K practicals) and exterior highlights. No color correction needed in development.
Key film latitude considerations: Film handles 5-stop ambient/direct differences naturally. Meter for shadows, expose for highlights. Minimum shadow lux: 150 for ISO 400 film.
Digital's Precision Demands
Same window test with EOS R5 showed clipped exterior highlights unless I reduced window exposure by 1.5 stops using ND gel. Interior shadows required fill at precisely 3200K to match practicals. Digital sensors show even 100K CCT mismatches as color casts.
Digital solution: Meter ambient separately, then match artificial light CCT within 100K. When deciding between flash and LEDs for color matching, compare our continuous vs strobe guide. Maximum ambient/direct difference: 3.5 stops before highlight clipping. Always shoot RAW to recover limited shadow detail.
Final Verdict: Choosing Your Medium by Constraints
Neither film nor digital lighting is better. They're different tools requiring different measurement protocols. Your constraints dictate the right choice:
-
Choose film when:
- You have 4+ stop ambient/direct light differences
- Power-limited spaces where you can't control all light sources
- Organic highlight roll-off is critical (skin, metallic products)
- Budget allows for development costs ($15-25/roll)
-
Choose digital when:
- You need instant feedback in fast-paced environments
- Power is abundant (can run multiple lights for precise control)
- You're matching to specific brand colors (TM-30 data critical)
- Low-light capability matters (ISO 3200+ without grain)
The real pro moves between both media based on physics, not nostalgia. Last week, I shot film for a jewelry campaign (needed that highlight melt on gold) but switched to digital for their social content (needed consistency across 12 locations). Film's latitude gave me creative freedom in tricky ambient light; digital's precision ensured product colors matched Pantone specs.
Next time you set up lights, measure before you move. Budget your lux like you budget your amps. When constraints guide your choices (not guesswork), you'll protect color, respect breakers, and deliver what clients actually need: reliable, repeatable results that work in real rooms.
Test the watts, map the lux, trust the spectrum.
Related Articles

