Vintage Film Lighting Guide for True Skin Tones
By Chidi Okoye • 10th Dec

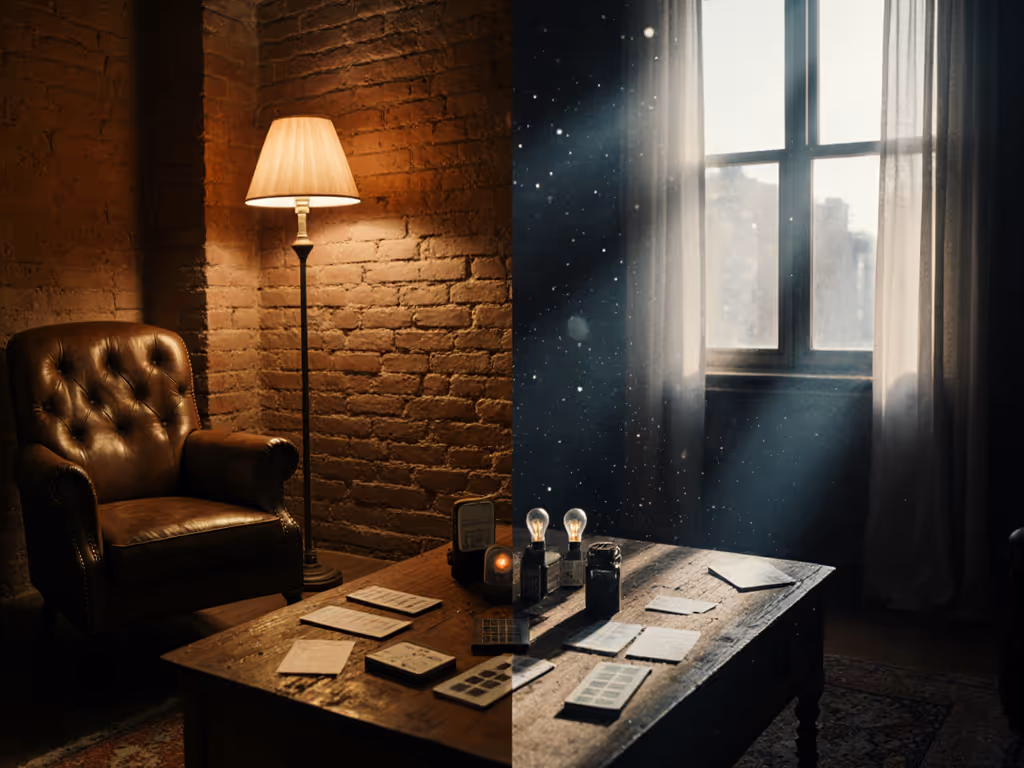
Mastering vintage film lighting requires more than replicating three-point setups or film noir shadows, it demands spectral discipline. When cheap LEDs with spotty spectral power distributions (SPDs) distort skin tones and product colors, analog photography techniques become your safety net. Skin tones first; everything else negotiates around them. This isn't nostalgia, it's physics. As a spectral rendering specialist, I've seen countless shoots fail because practitioners copied vintage aesthetics without honoring the spectral integrity behind them. Here's how to achieve true color where your camera's raw files match reality (no heroic grading required).
Profiles are tools, not crutches. They translate physics into pixels, but they can't fix bad light.
Why Vintage Lighting Techniques Fail Modern Sensors (And How to Fix It)
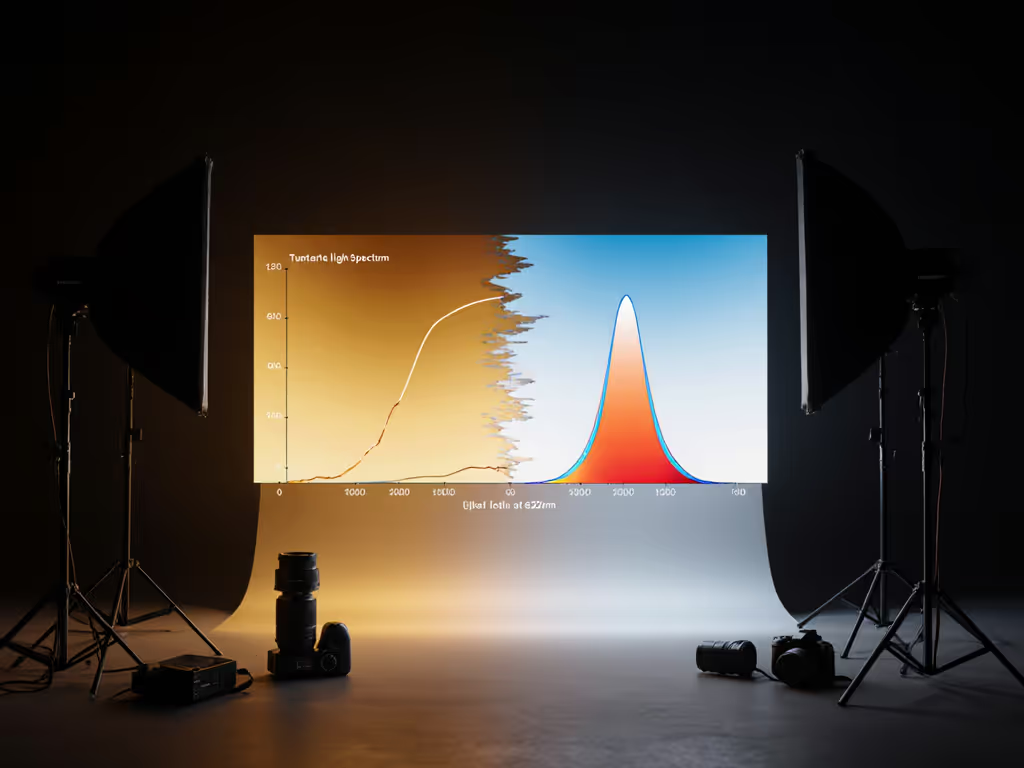
Classic Hollywood lighting relied on carbon arcs and tungsten bulbs with smooth, continuous SPDs. Modern LED panels? Many emit jagged peaks that create metamerism (where colors match under one light but not another). This explains why your subject's emerald dress appeared gray on camera while shoppers saw green: a spectral gap near 620 nm (confirmed by TM-30 Rf < 70). Cheap LEDs often lack consistency in red rendering, a death sentence for skin tones.
Your move:
- Measure SPDs with a spectrometer before shooting (even budget units like the i1Pro 3 reveal critical gaps)
- Prioritize lights with Rf > 90 and Rg 98-102 for skin tone stability
- Never mix LED types without spectral validation
Figure 1: SPD comparison showing 620 nm gap in budget LED vs. continuous tungsten (TM-30 Rf: 68 vs. 95)
Can Analog Light Metering Fix Digital Color Shifts?
Absolutely, but it must be spectral-aware metering. For a deeper look at where film-era practices diverge from digital, compare our film vs digital lighting guide. Vintage film exposure guide methods nailed incident light, but they assumed consistent SPDs. Today's mixed lighting creates film exposure guide failures because:
- Film's logarithmic response masked SPD gaps
- Digital sensors' narrow RGB filters amplify metamerism
- Your incident meter reads luminance but ignores spectrum
The hybrid workflow:
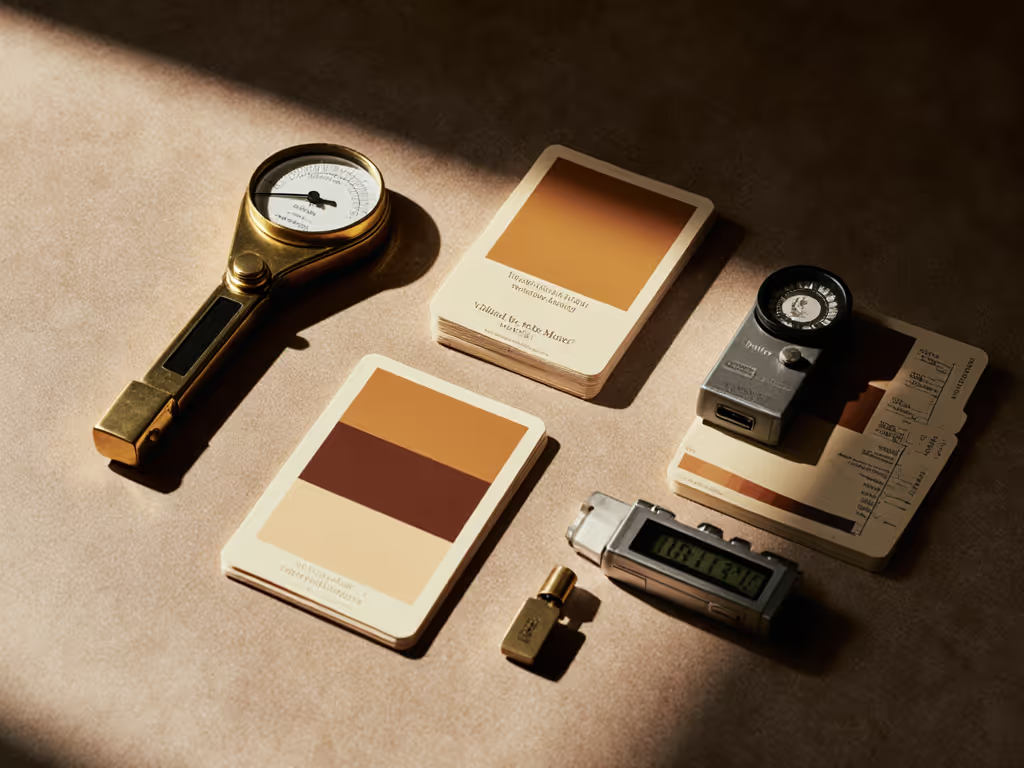
- Use a color meter (e.g., Sekonic C-700R) to capture CCT and Duv
- Cross-check with spectrometer data for R9 (deep red) and R12 (skin-tone critical)
- If R9 < 50, switch lights before shooting (no white balance can fix this)
Film photographers chased exposure latitude; today you chase spectral continuity.
Recreating "Vintage Glow" Without Green Skin Tones
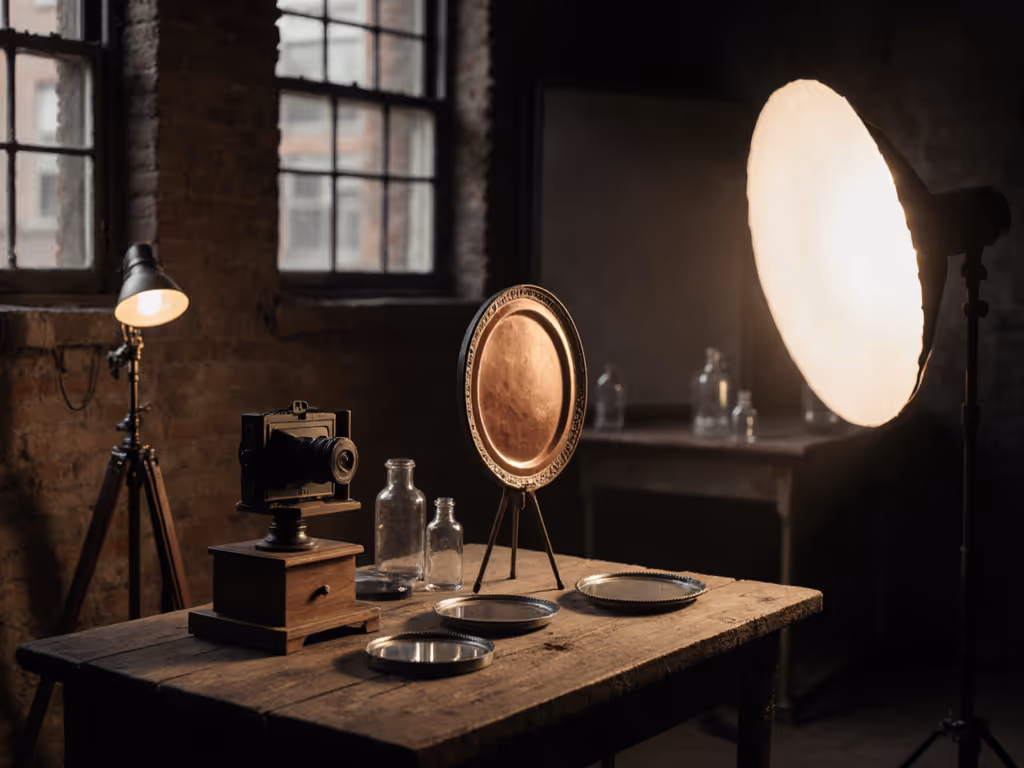
That soft, directional glow in 1940s Hollywood came from large diffused sources (not softboxes, but silk scrims over powerful tungsten fixtures). But modern LED panels marketed as "vintage-style" often use PWM dimming that causes flicker or green spikes at 180° shutter angles. Here's how to replicate it authentically:
Compact setup for low ceilings (8-9 ft):
- Key light: 300W LED panel through 4'x4' silk scrim (2 ft from subject)
- Why: Larger source = softer transitions; silk preserves spectral continuity
- Fill light: 150W panel bounced off foam core (measured 1.5 stops under key)
- Critical: Verify R9 > 80 via spectrometer, common "high-CRI" LEDs cheat here
- Kicker: 100W focused Fresnel with 20° grid (for rim definition)
Avoid this trap: "Diffusing" cheap LEDs with bounce boards won't fix SPD gaps. I once saw a crew use a 95 CRI panel that lacked 620 nm energy, skin tones turned ashen despite perfect exposure. Swap the light, not the modifier.
Matching Photo and Video Under Vintage Lighting
Video camera lighting demands stricter spectral control than photo. If you're building a kit that works for both, see our best hybrid photo/video panels evaluated for CRI/TM-30 and real-world color. Log footage amplifies SPD flaws because it stretches limited bit depth over wide dynamic ranges. When your Sony A7IV and BMPCC4K footage clash:
- Set white balance via analog light metering (gray card under key light only)
- Build custom camera profiles for each light source using a ColorChecker Passport
- Target TM-30 Rf 90+ for skin tones, ignore "CRI 97" marketing if R9 is low
This is where analog discipline saves digital headaches. Film photographers recorded exposure notes with SPD context (e.g., "Kodak Vision3 500T under 3200 K tungsten"). Modern shooters must document:
- Light model + measured CCT/Duv
- TM-30 Rf/Rg values
- Grid/diffusion modifiers used
Without this, "recreating a vintage look" becomes guesswork. Profiles are tools, not crutches, they translate measured light into consistent color, but they can't compensate for unrecorded variables.
Your Action Plan for Skin-First Vintage Lighting
- Audit your lights: Run SPD tests on all fixtures. Discard any with R9 < 60, it will distort skin.
- Meter spectrally: Use incident + color metering together. Record TM-30 data, not just CRI.
- Replicate vintage diffusion: Prioritize large scrims (silk, muslin) over softboxes to maintain spectral integrity.
- Profile early: Build camera profiles on location before shooting subjects.
- Document everything: Light-to-subject distance, modifier size, and spectral metrics, not just f-stops.
True vintage lighting isn't about emulating shadows, it's about honoring the physics that made those shadows work. When you understand why 1940s carbon arcs rendered skin honestly (continuous SPDs, no metamerism), you can adapt principles to modern LEDs without sacrificing truth. Your raw files should need only subtle adjustments (not emergency surgery). Because skin tones are the north star; everything else orbits them.
Related Articles